

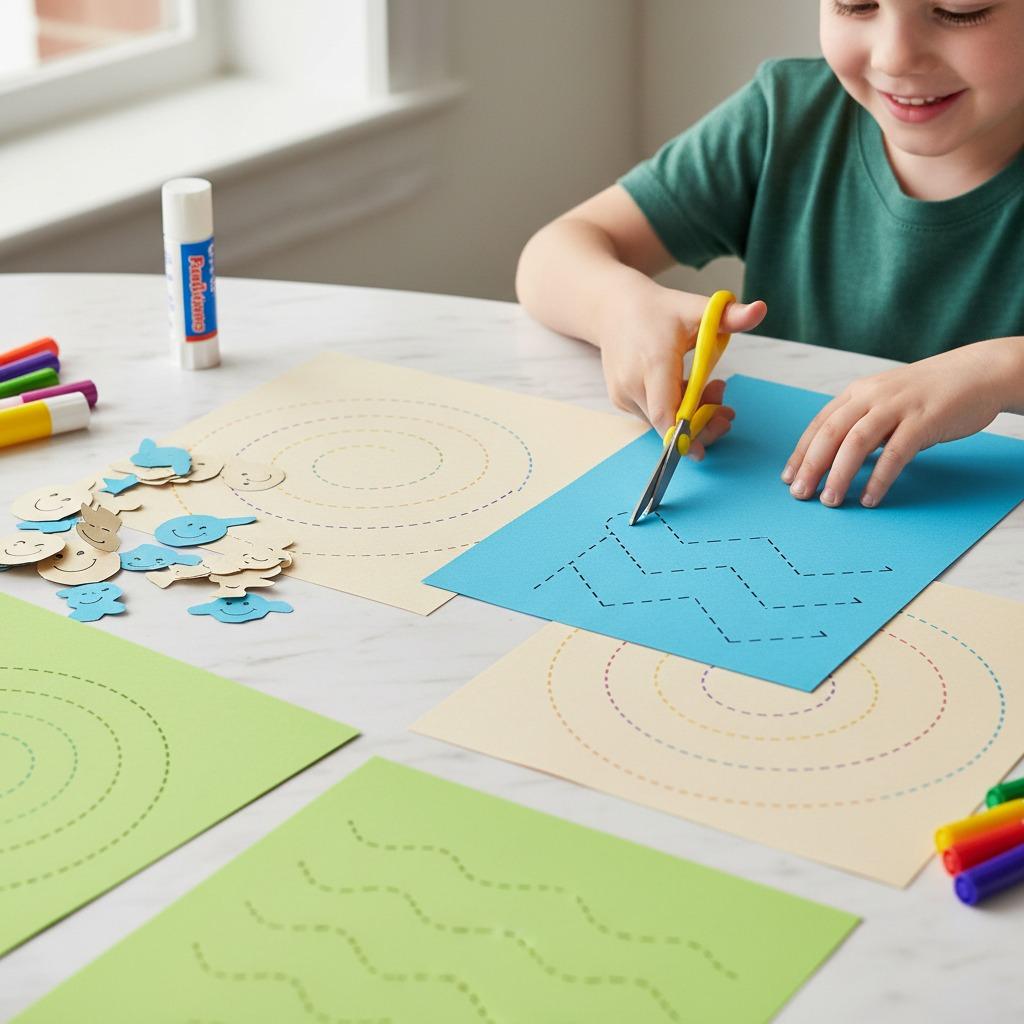
Beyond the Square: Cutting Geometric Shapes with Kids
Cutting geometric shapes is a simple way to combine early math, hand coordination, and creative play. With paper, clear instructions, and appropriately chosen school scissors, children can move from basic straight cuts to circles, triangles, pentagons, and imaginative shape-based projects.
For preschool and early elementary learners, geometry is easiest to understand when it is hands-on. A square is not just a drawing on a worksheet; it becomes a window, a robot body, a gift box, or part of a paper city. When children cut shapes themselves, they practice controlling the paper, turning corners, following lines, and comparing sides and angles. The goal is not perfect edges. The goal is safe practice, confidence, and noticing how shapes work.
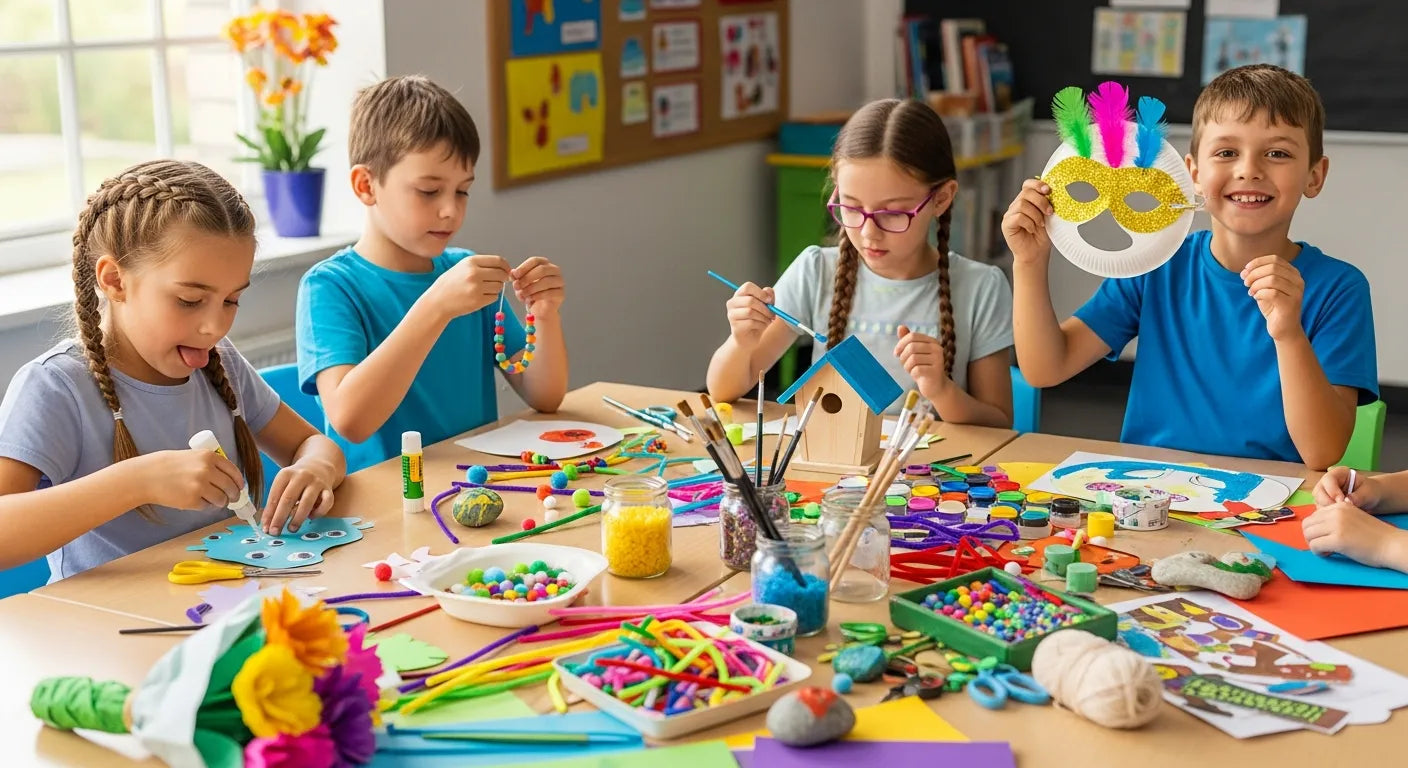
Caption: Classroom craft time can help children connect scissor skills with shape recognition and creative problem-solving.
Key Takeaways
- Start with straight lines and large shapes before asking children to cut curves or small details.
- Choose school scissors with child-appropriate sizing, comfortable grips, and blunt tips.
- Use thick paper for beginners because it is easier to hold and control than very thin paper.
- Turn shape cutting into a conversation about sides, corners, curves, symmetry, and patterns.
- Supervision and clear scissor rules are essential for home, classroom, and after-school activities.
Why Cutting Shapes Supports Learning
Cutting is more than a craft-table activity. It builds fine motor strength in the fingers and hands, supports hand-eye coordination, and encourages children to plan each movement. When a child cuts a rectangle, they must move along a line, stop at a corner, rotate the paper, and continue. That sequence strengthens concentration and self-control.
Geometric shapes also give children useful math language. They can count three sides on a triangle, compare a long rectangle with a short one, or notice that a circle has no corners. These ideas are easier to remember when children have made the shapes themselves. For ages 4–8, cutting activities can fit into art lessons, math centers, occupational therapy practice, or quiet home projects.
Choosing School Scissors for Shape Practice
The right tool makes a noticeable difference. Children should not be asked to use adult scissors for beginner cutting tasks. Look for school scissors designed for small hands and classroom use. Useful selection points include blunt tips, handles that fit the child’s fingers, and a cutting action that opens and closes smoothly without requiring too much force.
Before buying scissors for a group, parents or teachers can compare a few options and ask practical questions: Are the handles comfortable for right- and left-handed children? Are the blades suitable for paper and classroom craft materials? Is adult supervision clearly recommended? If purchasing for a school or organization, ask the supplier for product details rather than assuming specifications that are not listed.

Caption: Child-appropriate scissors should fit small hands and support controlled paper cutting.
Shape Practice: From Easy to More Challenging
A gradual sequence helps children succeed. Begin with wide strips of paper and short straight lines. Then move to large squares and rectangles. After that, introduce triangles and circles. More complex polygons, such as pentagons and hexagons, work best after children can stop, turn the paper, and restart without rushing.
| Shape | Best for | Cutting skill practiced | Activity idea |
|---|---|---|---|
| Square | Beginners | Straight lines and corner turns | Make windows for a paper house |
| Rectangle | Beginners | Long straight cuts | Create doors, roads, or book covers |
| Triangle | Early practice | Cutting to a point | Make roofs, sails, or animal ears |
| Circle | Intermediate practice | Slow curved cutting | Create suns, faces, wheels, or planets |
| Pentagon | Advanced practice | Multiple angled turns | Build a badge, gem, or roof shape |
| Hexagon | Advanced practice | Repeated straight sides | Make honeycomb patterns or tiled art |
A Practical Activity: Shape Monster Mash
This activity keeps the lesson playful while still giving children repeated cutting practice. It works well for one child at home or for a small classroom group.
- Draw large outlines of squares, rectangles, triangles, circles, and other shapes on colored paper.
- Review scissor rules: sit down while cutting, keep scissors pointed down when carrying, and cut only the assigned paper.
- Ask each child to cut several shapes at their own pace. Offer help with turning the paper rather than taking over the cutting.
- Use glue sticks to combine the shapes into a silly monster, robot, animal, or building.
- Ask math questions: “How many triangles did you use?” “Which shape has the most sides?” “Can you find two shapes that are the same size?”
For younger children, provide fewer shapes and thicker paper. For older children, add challenges such as symmetry, repeating patterns, or a rule that every monster must include at least one circle and one triangle.
Tips for Safer, Calmer Cutting Sessions
Good setup prevents frustration. Seat children with enough elbow room, keep glue and markers separate until cutting is finished, and collect scraps in a small tray or basket. If a child is struggling, make the paper smaller and the lines thicker. Large sheets can be hard for small hands to control.
- Demonstrate the grip: thumb in the small loop if applicable, fingers in the larger loop, and wrist steady.
- Encourage children to turn the paper, not twist their whole arm awkwardly.
- Use short practice sessions. Five to ten focused minutes can be more useful than a long, tiring activity.
- Praise effort and control: “You slowed down around the curve,” or “You stopped carefully at the corner.”
- Store scissors in a consistent place so children learn that they are tools, not toys.
Extending the Lesson Beyond Paper
Once children understand the basic shapes, connect the activity to the world around them. Look for rectangles in books, circles on clocks, triangles on signs, and hexagons in honeycomb pictures. Children can also sort their cut shapes by color, size, number of sides, or straight versus curved edges.
Teachers can create a class mural from everyone’s shapes. Parents can save a few cutouts in a folder to show progress over time. If a child’s first circle looks uneven, that is normal. With practice, the hands learn to move more smoothly, and the child begins to predict where the scissors will go next.
FAQ
What age is best for cutting geometric shapes?
Many children begin simple cutting practice around preschool age, but readiness varies. Start with supervised snipping and straight lines, then introduce full shapes when the child can open and close scissors with control.
Are school scissors safe enough for independent use?
School scissors are designed for children, but they still require supervision. Set clear rules, watch how children carry and use them, and put scissors away when the activity ends.
What paper is easiest for beginners to cut?
Construction paper or other moderately thick craft paper is often easier than thin printer paper because it does not flop as much in the child’s hand.
How can I help a child who gets frustrated?
Make the task simpler. Use larger shapes, shorter lines, and fewer corners. You can also cut beside the child and model slow, calm movements without insisting on perfect results.
How do I make shape cutting educational without making it feel like a worksheet?
Ask natural questions during the craft: count sides, compare sizes, name colors, or build a picture from the shapes. The learning happens through conversation and hands-on exploration.