

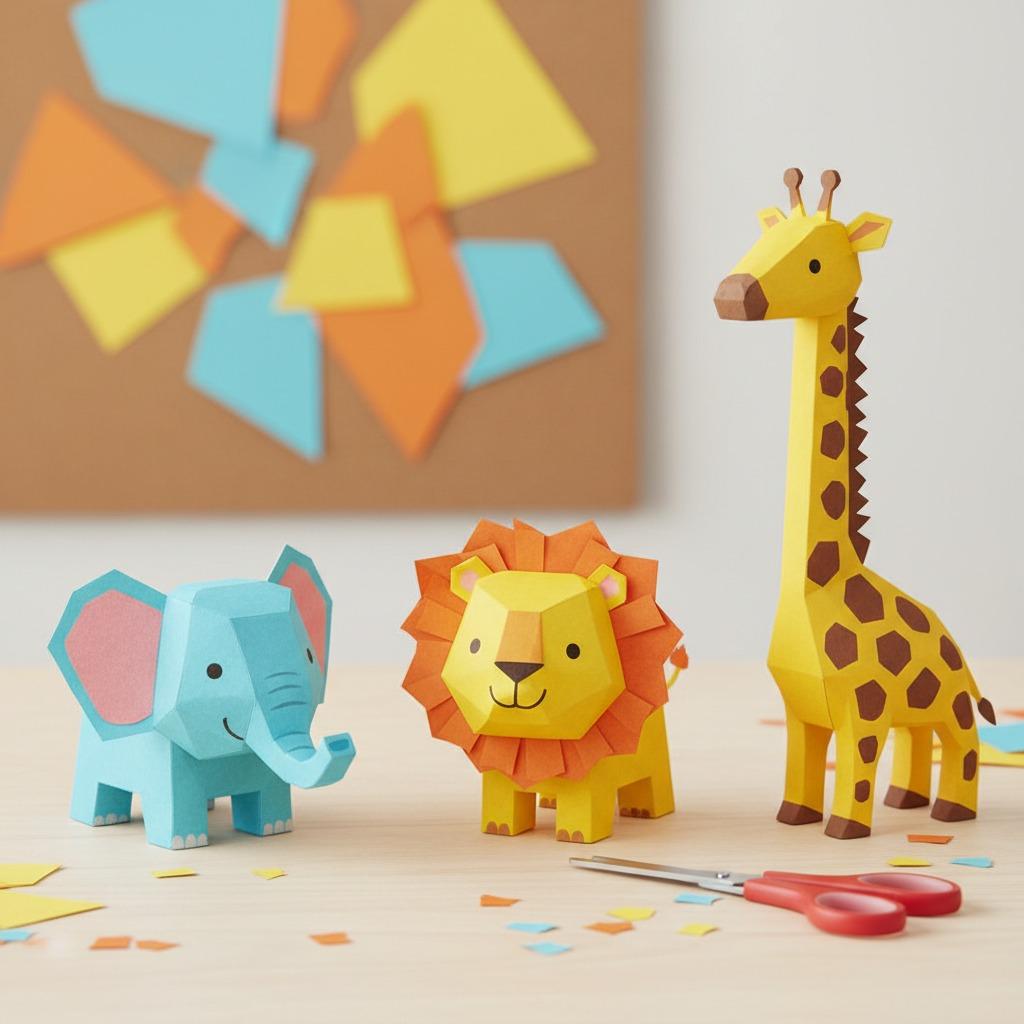
Creating 3D Paper Animals Using Basic Cutting Techniques
Making 3D paper animals is a practical craft project for classrooms, after-school activities, family weekends, and beginner art lessons. The appeal is simple: children can turn flat sheets of colored paper into animals that stand, bend, flap, or curl using only basic cutting, folding, and gluing. No advanced origami skills are required.
This guide focuses on safe, repeatable techniques using school scissors, construction paper, glue, and a pencil. It is suitable for children who are ready to practice cutting with supervision, and it can be adapted for different ages by changing the size and complexity of the shapes.
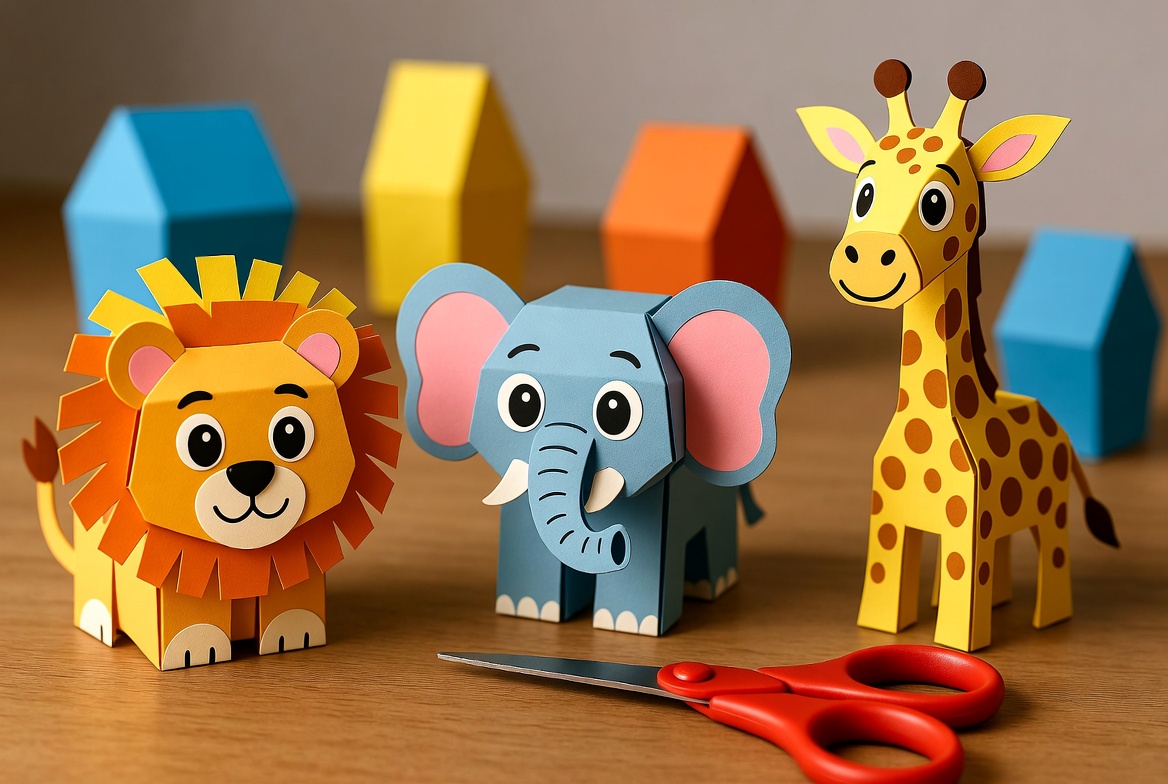
Key Takeaways
- 3D paper animals can be made with simple shapes, tabs, slits, curls, and fringe cuts.
- School scissors are useful for beginner craft projects when children are supervised.
- Thicker paper helps animals stand, while lighter paper is easier to curl and fold.
- Start with a lion, fish, bird, or elephant before trying more detailed animals.
Materials You Need
Most of the supplies for this project are common classroom or home craft items. Before starting, set up a clear table, keep glue away from the cutting area, and prepare a scrap paper tray for offcuts. This makes the activity easier to manage, especially with groups of children.
| Material | Best Use | Selection Tip |
|---|---|---|
| Colored construction paper | Bodies, heads, legs, wings, ears | Use several colors so children can identify animal parts easily. |
| School scissors | Straight cuts, curves, tabs, fringe | For children, choose a size they can grip comfortably and use with adult guidance. |
| Glue stick or white glue | Attaching heads, legs, tails, and details | Glue sticks are less messy; white glue can give a stronger hold when dry. |
| Pencil | Drawing outlines and tabs | Light pencil lines are easier to hide or erase after cutting. |
| Markers or crayons | Eyes, noses, stripes, spots | Add details after the main animal shape is assembled. |
| Ruler, optional | Leg strips, body rectangles, fold lines | Helpful for older children learning measurement and symmetry. |
Choosing the Right Paper and Scissors
Paper choice affects how the animal stands. Construction paper is a good starting point because it is sturdier than copy paper but still easy to cut. Cardstock can make stronger legs or bases, but it may be harder for younger children to cut cleanly. Thin paper works well for curled tails, feathers, fins, or layered fur.
When selecting school scissors for a craft activity, consider the user rather than only the project. The scissors should fit the child’s hand, open and close smoothly, and be used on paper rather than thick materials that may cause slipping. Rounded-tip school scissors are commonly used for children’s paper crafts, but adult supervision is still important, especially when cutting small curves or slits.
Basic Cutting Techniques for 3D Effects
The best 3D paper animals are built from easy cuts used in smart ways. Teach one technique at a time, then combine them.
- Straight cuts: Use these for rectangular bodies, legs, necks, and base strips.
- Curved cuts: Use these for heads, ears, wings, fins, trunks, and tails.
- Fringe cuts: Make repeated short cuts along an edge for lion manes, bird feathers, grass, or fur.
- Slits: Cut small openings so legs, wings, or heads can slot into the body.
- Tabs: Add small foldable flaps to the ends of shapes so they can be glued more securely.
- Curling: Gently wrap paper strips around a pencil to create tails, whiskers, or curved fins.
A helpful rule is to cut larger shapes first and small details last. Large parts are easier to hold, and children can see the animal forming before adding eyes, ears, and markings.
Step-by-Step Project: 3D Paper Lion
A lion is a strong first project because its body uses simple rectangles and its mane teaches fringe cutting. Use yellow, orange, or brown paper, but any color works if the goal is creative exploration.
- Draw a long rectangle for the body. This will be the lion’s main standing shape.
- Draw four narrow rectangles for legs. Add a small tab at the top of each leg.
- Draw a circle for the head and a slightly larger circle or ring shape for the mane.
- Cut out the body, legs, head, and mane using slow, controlled scissor movements.
- Cut short fringe lines around the mane. Do not cut all the way through the center.
- Fold the leg tabs and glue them under the body, spacing them so the lion can stand.
- Glue the head onto the mane, then attach both to the front of the body.
- Add eyes, nose, mouth, paws, and a curled paper tail.
If the lion tips forward, widen the legs or glue the feet onto a small paper base. This is a good opportunity to teach balance, structure, and problem-solving through craft.
More Animal Ideas Using the Same Skills
Once children understand tabs and slits, they can make many animals from repeated patterns. Keep templates simple at first, then invite children to customize colors and details.
- Elephant: Use a large oval body, four rectangular legs, big curved ears, and a curled trunk.
- Bird: Make a folded body, fringe-cut wings, and a small triangle beak.
- Fish: Cut an oval body, add slits for fins, and use curved strips for a tail.
- Giraffe: Use a rectangle body, long neck, small head, and paper spots.
- Rabbit: Create a rounded body, long ears, small paws, and a curled paper tail.
For group settings, offer two or three template options rather than too many. This keeps the activity organized while still allowing creativity.
Safety, Supervision, and Clean Results
Even simple paper crafts need clear safety habits. Children should sit while cutting, keep fingers away from the blade path, and pass scissors handle-first. Adults should handle any cuts that require small internal slits if the child is not ready for that step.
For cleaner results, remind children to turn the paper rather than twisting their wrist too much. Cut just inside pencil lines if the outlines are dark. Let glue set before testing whether the animal stands. If white glue is used, apply small dots instead of heavy lines so the paper does not wrinkle.
Common Mistakes and Easy Fixes
If the animal collapses, the paper may be too thin or the legs may be too narrow. Add a base strip or double the paper on the legs. If the head falls off, add a folded tab behind it instead of gluing only the edge. If fringe cuts tear, make them shorter and leave more uncut paper near the center.
Uneven shapes are not a failure. In fact, handmade animals often look more lively when each ear, paw, or feather is slightly different. The main goal is to help children practice control, sequencing, and creative decision-making.
Practical FAQ
What age is best for 3D paper animal crafts?
Many children around age five and older can enjoy this type of craft with adult help. Younger children may need pre-cut shapes, while older children can design their own templates.
Can copy paper be used instead of construction paper?
Yes, but copy paper is softer and may not stand well. It is better for curls, feathers, and decorative layers than for legs or bases.
How do I make paper animals stand upright?
Use wider legs, folded tabs, and a balanced body. If needed, glue the feet to a rectangular paper base.
Do children need advanced folding skills?
No. This project relies mainly on cutting, basic folds, tabs, and glue. It is easier than many origami projects.
What is the best classroom setup?
Prepare paper stacks, pencils, glue, and a scrap tray in advance. Demonstrate one animal first, then let students choose colors and details.
Final Tips for a Better Craft Session
Start with one animal and one technique, such as a lion with fringe cutting or a fish with curved fins. Keep the first version simple, then encourage children to add features such as spots, stripes, whiskers, wings, or tails. With a few sheets of paper and basic school scissors, a small table can become a complete paper zoo.