

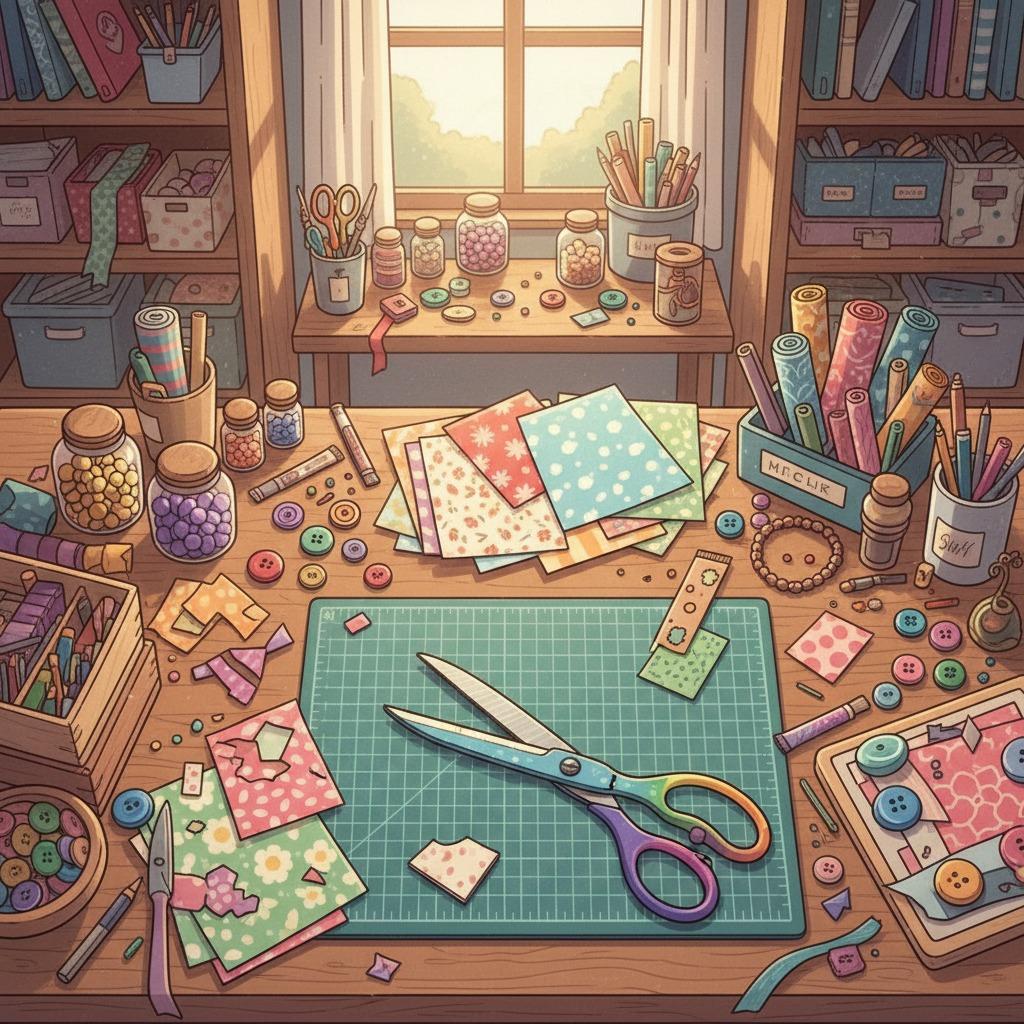
DIY Craft Ideas: Better Projects with Craft Scissors
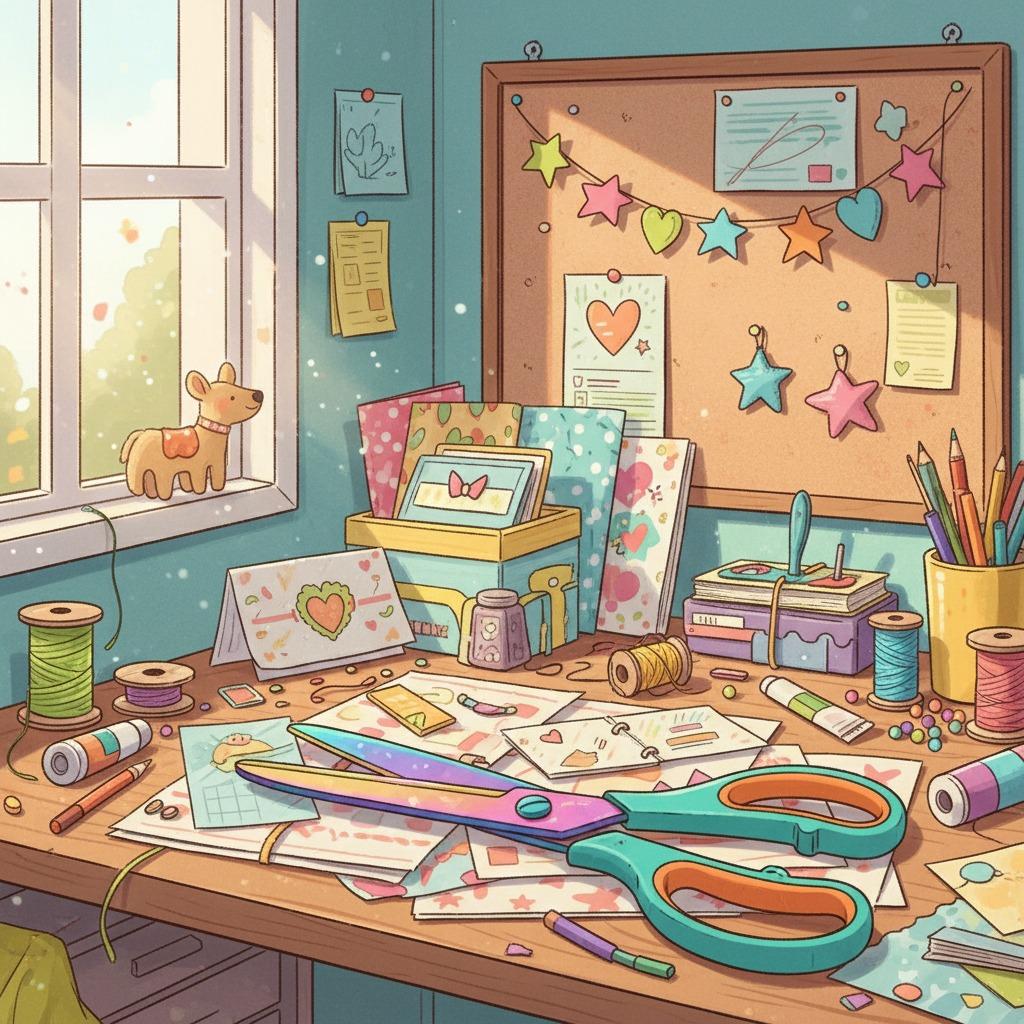
Good DIY craft ideas often start with simple materials: paper, ribbon, felt, fabric scraps, cardboard, packaging, and saved household items. The difference between a project that looks careful and one that looks rushed is often the cutting. A reliable pair of scissors helps you shape edges, trim small details, and repeat cuts with better control.
The craft scissors described in the original article include a multicolor blade finish with an iridescent look, purple and pink cushioned handles, contoured shaping, and precision-ground blades. Those details make them suitable for many home crafting tasks, but the best results still depend on matching the tool to the material, cutting slowly, and caring for the blades after use.
Key Takeaways
- Choose craft scissors based on the material you cut most often: paper, fabric, ribbon, felt, or mixed media.
- Keep separate scissors for paper and fabric when possible, because paper can dull blades used for textiles.
- Use clean templates, light pencil marks, and small controlled cuts for detailed designs.
- Wipe blades after sticky materials such as tape-backed paper, labels, or glue sheets.
- Comfort matters for longer craft sessions, especially when cutting repeated shapes.
Why Scissors Matter in DIY Craft Projects
Scissors may look like a basic tool, but they affect accuracy, speed, and safety. For paper crafts, sharp blades reduce ragged edges and help folds align correctly. For sewing-related projects, clean trimming can reduce fraying and make seams easier to manage. For home décor pieces, neat cuts make handmade work look intentional rather than improvised.
Ergonomic details are also useful. Cushioned handles and a contoured grip can make repetitive cutting more comfortable than using stiff utility scissors. If several people use the same craft area, consider labeling scissors by purpose: paper, fabric, general household, and adhesive materials.
DIY Craft Ideas That Benefit from Clean Cutting
These beginner-friendly and practical projects are well suited to craft scissors:
- Personalized greeting cards: Cut layered paper, decorative corners, envelopes, and small shapes. Use a ruler for straight lines and scissors for curves.
- Paper garlands: Fold paper into stacks and cut repeated triangles, circles, leaves, or stars. Keep the stack thin so edges stay even.
- Fabric bookmarks: Trim cotton fabric, felt, or ribbon into strips. Add stitching, iron-on letters, or fabric glue if appropriate for your material.
- Scrapbook layouts: Cut photo mats, labels, borders, and decorative tabs. Use slow cuts around photos to avoid mistakes.
- Gift wrap accents: Make custom tags, ribbon ends, layered paper flowers, or small decorative inserts for gift bags.
- Seasonal home accents: Cut felt leaves, paper snowflakes, party signs, or table place cards for events.
For best results, start with forgiving materials such as cardstock and felt before moving to slippery ribbon, thin fabric, or layered mixed-media work.
Comparison Table: Matching Scissors to Craft Materials
| Material or task | Recommended cutting approach | What to watch for |
|---|---|---|
| Cardstock and paper | Use long, steady cuts for straight edges and short cuts for curves. | Cutting thick stacks can shift layers and create uneven edges. |
| Fabric scraps | Cut one or two layers at a time on a flat surface. | Avoid using fabric scissors on paper if you want to preserve sharpness. |
| Ribbon | Cut at an angle to reduce fraying and create a neat finish. | Slippery ribbon may need clips or a light pencil mark. |
| Felt | Use slow cuts and rotate the felt rather than twisting your hand. | Thick felt can compress, so avoid rushing detailed shapes. |
| Adhesive sheets or labels | Wipe the blades after cutting sticky materials. | Glue buildup can cause dragging and uneven cuts. |
How to Choose Craft Scissors for Home Projects
When selecting scissors for crafts, look beyond color alone. A bright multicolor blade and purple-pink cushioned handles can make a tool easier to find in a busy drawer, but performance depends on how the scissors feel and cut in your hand. If you are buying online, review the product description and ask practical questions before assuming a feature.
- Blade purpose: Are the blades intended for paper, fabric, general craft use, or a specific material?
- Handle comfort: Do the handles suit your hand size and cutting style?
- Cutting control: Are the blades described as precision-ground or designed for detailed work?
- Care guidance: Does the supplier provide cleaning or storage recommendations?
- Safety: Is the product suitable for the intended user, especially if children will be crafting?
If you need scissors for a classroom, studio, craft kit, or resale assortment, ask the supplier for details about packaging, available colors, sample policy, material information, and any relevant documentation. Do not assume manufacturing details, certifications, or minimum order quantities unless the supplier confirms them in writing.
Simple Cutting Techniques for Neater Results
Technique can improve results even when using familiar tools. For straight cuts, mark with a ruler and keep your cutting hand steady while guiding the material with the other hand. For curves, use shorter snips and rotate the material gradually. For symmetrical shapes, fold the paper or fabric first and cut both sides at once.
When cutting small details, leave a little extra material around the design first, then trim closer on a second pass. This reduces tearing and gives you more control. If you are cutting fabric, press it flat beforehand and avoid lifting it too high off the table, which can distort the shape.
Care and Storage Tips for Craft Scissors
Craft scissors last longer and perform better when they are kept clean and stored safely. After cutting paper with glitter, glue, tape, or adhesive backing, wipe the blades with a dry or slightly damp cloth and dry them completely. Do not leave scissors in a wet sink, under craft supplies, or loose in a bag where the tips may be damaged.
A small drawer tray, wall hook, or labeled cup can prevent blade knocks and make the correct pair easy to find. If you notice dragging, chewing, or uneven cutting, check for residue before deciding the blades are dull. Sticky buildup is a common reason scissors stop cutting smoothly.
FAQ
Can I use the same scissors for paper and fabric?
You can, but it is better to separate them if you sew or cut fabric often. Paper can dull blades over time, which may make fabric cutting less clean.
What projects are best for beginners?
Start with greeting cards, paper garlands, bookmarks, gift tags, and felt shapes. These projects use inexpensive materials and do not require advanced tools.
How do I cut curves without jagged edges?
Use small, controlled cuts and rotate the material instead of forcing the scissors around the curve. Practice on scrap material before cutting the final piece.
How should I clean scissors after cutting sticky materials?
Wipe the blades carefully with a soft cloth. If residue remains, follow the supplier’s care guidance before using any cleaner, and dry the blades fully afterward.
What should bulk buyers ask before ordering craft scissors?
Ask about material details, packaging, sample availability, color options, intended use, labeling, lead time, and any documents needed for your market. Confirm all commercial terms directly with the supplier.