

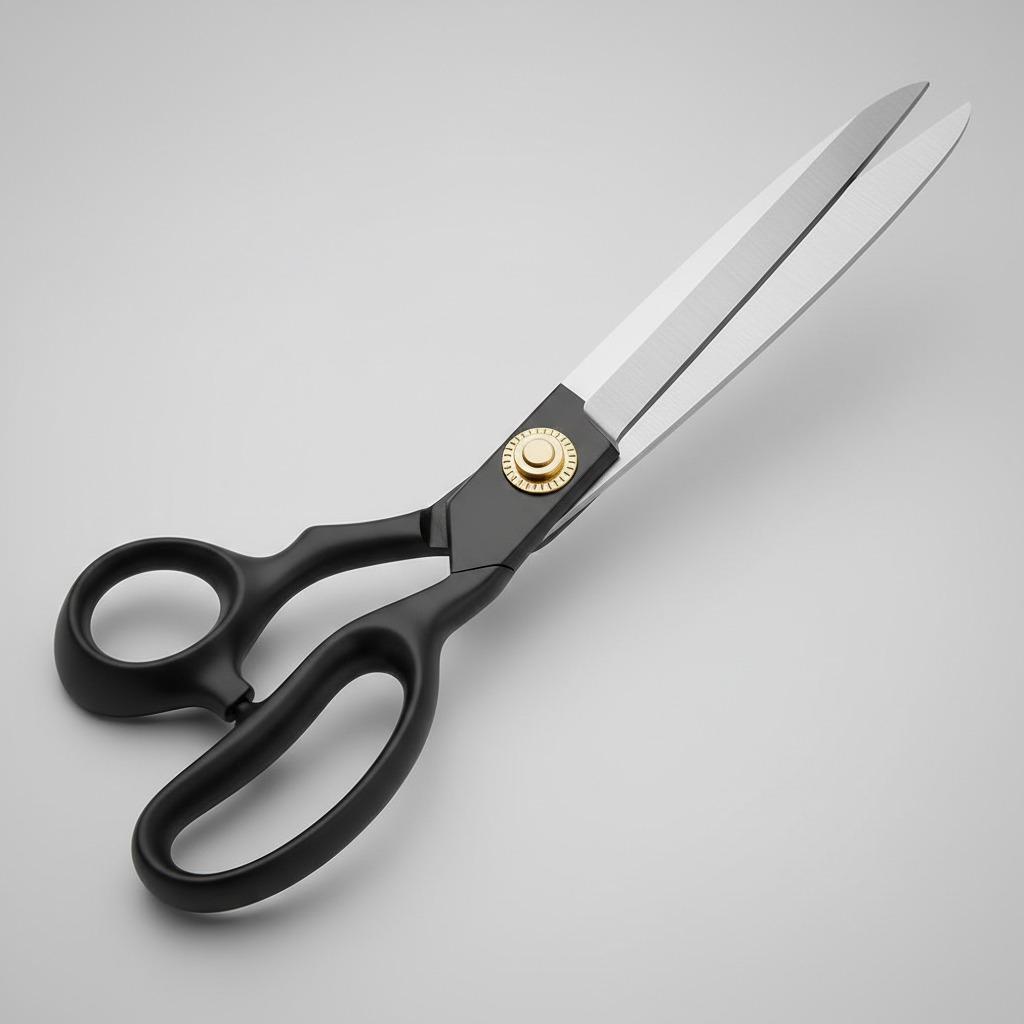
How to Resharpen Your Dressmaking Shears at Home
Dressmaking shears are designed for cutting fabric smoothly and accurately. When they become dull, you may notice ragged edges, skipped cuts, fabric pulling, or extra pressure in your hand. Professional sharpening is often the best choice for expensive or badly damaged shears, but light maintenance can be done at home with simple tools if you work carefully.
This guide explains how to assess your shears, choose a sharpening method, and avoid common mistakes. It is written for home sewists, craft users, tailoring students, and small studios that want to maintain a few pairs between professional services.

Key Takeaways
- Use home sharpening for light dullness, minor burrs, and routine maintenance.
- A whetstone gives the most control, but it requires patience and a steady angle.
- Foil and sandpaper can improve a tired edge temporarily, but they are not full sharpening methods.
- Do not sharpen pinking shears, serrated blades, or damaged shears unless you know the correct technique.
- Clean, dry, and lightly oil the pivot after sharpening to keep the action smooth.
First, Check Whether Your Shears Need Sharpening
Before reaching for a stone, test the shears. Cut a single layer of scrap cotton or similar woven fabric from the pivot area to the tip. Sharp shears should cut cleanly along the full blade length without folding or pushing the fabric away. Then cut lightweight paper only as a quick test; avoid making paper cutting a habit because paper can dull fabric shears over time.
If the blades feel loose, tightening the pivot screw may solve part of the problem. If the blades cross poorly, have chips, are bent, or no longer meet evenly, sharpening alone will not restore good performance. In those cases, a repair or professional sharpening service is safer.
Tools You Can Use at Home
The original home methods are simple: a whetstone, aluminum foil, sandpaper, a clean cloth, and optional lubricating oil for the pivot. Each works differently. A whetstone removes metal in a controlled way and can recreate a cutting edge. Sandpaper is less precise but useful for a mild refresh. Foil mainly removes tiny burrs and residue; it should be treated as a quick touch-up, not a deep sharpening solution.
Choose a stable work surface, good lighting, and a cloth to keep the blades from sliding. If your shears can be safely disassembled at the pivot, you may get better access to each blade. If you are not sure how to reassemble them correctly, keep them intact.
Comparison: Home Sharpening Methods
| Method | Best For | Skill Level | Main Risk | Result |
|---|---|---|---|---|
| Whetstone | Regular maintenance and dull edges | Moderate | Changing the blade angle | Most precise home option |
| Sandpaper | Light to moderate dullness | Easy | Uneven abrasion | Short-term improvement |
| Aluminum foil | Minor burrs or quick refresh | Very easy | Expecting too much from it | Temporary touch-up |
| Professional service | High-value, damaged, or specialty shears | None for user | Service quality varies | Most reliable when done well |
Method 1: Resharpening with a Whetstone
A whetstone is the most useful home tool when you want a controlled edge. Many stones have a medium side and a fine side. If your stone requires soaking, follow the stone maker’s instructions. Keep the surface wet enough to carry away metal particles.
- Clean the shears so lint, adhesive, or oil does not interfere with the edge.
- If possible, open the blades fully or separate them at the pivot.
- Identify the beveled cutting face. Do not grind the flat inside face aggressively.
- Place the beveled edge against the stone at the existing angle rather than inventing a new one.
- Stroke from the base of the blade toward the tip with light, even pressure.
- Repeat several passes, checking often. Remove only enough metal to refresh the edge.
- Finish with the finer side of the stone for a smoother cut.
- Wipe the blade clean and repeat on the other blade.
After sharpening, open and close the shears gently. You may feel a tiny burr at the edge; a light final pass or a few cuts through scrap fabric can help remove it. Do not over-sharpen, because removing too much metal can shorten the usable life of the shears.
Method 2: Using Sandpaper for a Quick Refresh
Sandpaper can help when the shears feel tired but are not severely dull. Use medium grit sandpaper, similar to the range often used for light household sharpening tasks. Fold the sheet so the abrasive side faces outward, then cut through it using the full blade length. Make 10 to 15 steady cuts rather than quick snips at the tip.
Wipe the blades afterward. Test on scrap fabric. If the cut improves only slightly or the blades still push fabric, move to a whetstone or professional service. Sandpaper is convenient, but it is not as accurate as sharpening directly along the bevel.
Method 3: Using Aluminum Foil for Minor Burrs
Foil is the easiest technique, but it should be understood correctly. Fold a sheet of aluminum foil into several layers, then cut through it with long, complete cuts. This may remove small burrs and residue from the edge, making the shears feel cleaner. It will not repair a rounded, chipped, or poorly aligned blade.
Use this method only as a fast touch-up before a small project. If you sew often, plan more deliberate maintenance instead of relying on foil every time the shears become dull.
Cleaning, Oiling, and Storage After Sharpening
Sharpening is only part of shear care. Fabric lint, thread dust, adhesive from patterns, and moisture can all reduce cutting quality. After each sharpening session, wipe the blades with a clean dry cloth. Add a small drop of oil to the pivot if the action feels stiff, then open and close the shears several times and wipe away excess oil.
- Store shears closed in a sleeve, case, or dedicated drawer.
- Use fabric shears only on fabric, not cardboard, wire, plastic, or general packaging.
- Keep the pivot screw snug but not overly tight.
- Do not drop shears; a small bend can ruin blade alignment.
- Label fabric shears if they are shared in a household or classroom.
When Not to Sharpen at Home
Some situations call for help. Do not attempt aggressive home sharpening if the shears are expensive, inherited, bent, chipped, serrated, or designed with a specialty edge. Pinking shears are especially difficult because the teeth must align precisely. Left-handed shears and ergonomic designs may also have blade geometry that deserves careful handling.
Small tailoring shops, sewing classrooms, and craft groups may find it practical to keep a basic maintenance schedule: clean weekly during heavy use, test monthly, and send heavily used shears to a qualified sharpener when home methods no longer restore a clean cut.
Practical FAQ
How often should I resharpen dressmaking shears?
It depends on use. Occasional home sewing may need only light maintenance a few times a year. Daily studio use may need more frequent checks.
Can I use a kitchen knife sharpener?
Usually no. Many pull-through knife sharpeners are made for knife angles and can damage scissor blades or alter the bevel.
Should I sharpen both sides of each blade?
Focus on the beveled cutting edge. Avoid grinding the flat inner face unless you understand scissor geometry, because the two blades must meet cleanly.
Why do my shears still cut badly after sharpening?
The pivot may be loose, the blades may be misaligned, or the edge may be chipped. Tighten the pivot carefully and test again. If the issue remains, use a professional service.
Is foil sharpening safe for good shears?
Occasional foil cutting is generally used as a light touch-up, but it is not a replacement for correct sharpening. For valuable shears, use a whetstone carefully or consult a specialist.