

Mastering the Scissors: A Guide to Teaching Kids How to Cut
Learning to use scissors is a small childhood milestone with a big impact. For young children, cutting supports fine motor coordination, hand-eye coordination, focus, and confidence. It also prepares them for common school tasks such as art projects, worksheets, writing readiness, and classroom independence.
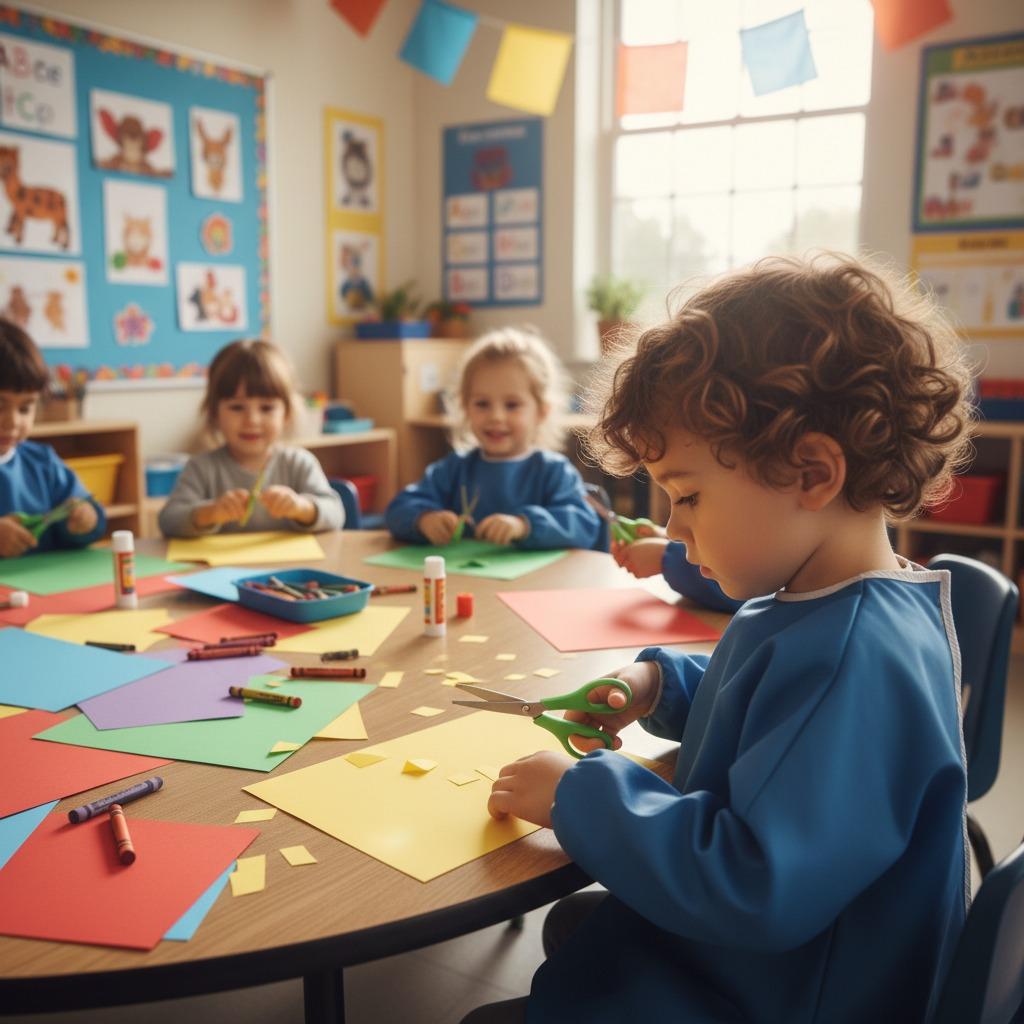
Children as young as 3 can begin with simple snipping activities when they have the right tools, close supervision, and realistic expectations. The goal is not perfect cutting on day one. The goal is to help children learn how to hold scissors safely, open and close the blades, guide paper with the other hand, and enjoy steady progress.
Key Takeaways
- Start with short, supervised practice sessions of about 5 to 10 minutes.
- Choose scissors that match the child’s age, hand size, and current motor skills.
- Teach safety rules before introducing paper or craft projects.
- Build skills gradually: snipping, straight lines, curves, shapes, then creative cutting.
- Use thicker paper at first because it is easier for beginners to control.
Choosing the Right Scissors for Little Hands
The best first scissors are not necessarily the sharpest or most advanced. Young learners need a tool they can grip comfortably and control without strain. If scissors are too large, too stiff, or too sharp for the task, children may become frustrated or unsafe.
Parents and teachers can compare options such as blunt-tip plastic scissors, loop scissors, adaptive training scissors, and blunt-tip child-safe metal scissors. When choosing school scissors, check how easily the handles open and close, whether the finger holes fit the child, and whether the blade type is suitable for the materials being cut.
| Scissor Type | Common Starting Age | Best Use | What to Check |
|---|---|---|---|
| Blunt-tip plastic scissors | 3–5 years | First snips on thin paper | Can the child open and close them without help? |
| Loop or self-opening scissors | 3–6 years | Children who need help with grip strength | Does the spring action support control rather than rushing? |
| Adaptive or training scissors | 4–7 years | Guided practice and confidence building | Do the handles feel comfortable or bulky? |
| Blunt-tip metal child scissors | 5+ years | Paper, craft sheets, and more controlled cutting | Is adult supervision consistent during use? |
Teach Safety Before Cutting Starts
Scissor safety should be taught as a routine, not as a warning given only after a problem occurs. Keep the rules short and repeat them every time children cut. For classrooms, a simple poster near the craft table can help. At home, use the same language each session so the child knows what to expect.
- Use scissors only while sitting at a table.
- Keep blades pointed down and away from the body.
- Cut paper or approved craft materials only.
- Never run, walk, or turn around quickly while holding scissors.
- Pass scissors handle-first to another person.
- Return scissors to a storage box or tray after use.
- Young children should always have adult supervision.
Safety practice can be part of the lesson. Before paper is introduced, ask the child to show how to hold closed scissors, how to pass them to an adult, and where to place them when finished.
A Step-by-Step Cutting Progression
Most children learn best when cutting is broken into small steps. Rushing into detailed shapes too soon can make the task feel impossible. A simple progression helps children experience success early.
- Practice the grip. Show the child where the thumb goes and how the fingers support the lower handle. Keep the wrist in a neutral, comfortable position.
- Open and close without paper. Let the child make slow “open, shut” movements so the hand learns the motion.
- Snip paper strips. Offer narrow strips so one squeeze cuts through the paper. This creates quick success.
- Cut straight lines. Draw bold lines on thicker paper. Encourage the helping hand to move the paper, not the scissors alone.
- Try curves and corners. Use wide curves first, then zigzags and simple turns.
- Cut shapes. Start with squares and triangles before circles, which require more coordination.
- Move into projects. Collages, paper chains, cards, and simple decorations make practice meaningful.

Age-Appropriate Activities for Practice
Age is only a general guide. Some children are ready earlier, while others need more time with strengthening activities. Match the activity to the child’s current control level rather than pushing toward a specific age target.
| Stage | Activity Ideas | Skill Being Built |
|---|---|---|
| Early beginner | Snip paper fringe, cut playdough strips, cut short paper strips | Hand strength and open-close motion |
| Developing control | Cut thick straight lines, make paper grass, trim collage pieces | Hand-eye coordination and direction |
| Improving accuracy | Cut curves, zigzags, and large simple shapes | Bilateral coordination and planning |
| Confident cutter | Create greeting cards, paper chains, collages, and pattern crafts | Precision, independence, and creativity |
Common Problems and Simple Fixes
If a child struggles, the solution is usually to adjust the tool, the paper, or the task. Avoid saying the child is “bad at cutting.” Instead, reduce the challenge until the motion feels manageable.
- The scissors will not open easily: Try loop scissors, a different handle size, or hand-strength games such as squeezing playdough.
- The paper bends instead of cutting: Use thicker paper or narrower strips so the blade has less material to manage.
- The child cuts far from the line: Draw wider, darker lines and begin with straight paths.
- The wrist twists awkwardly: Reposition the paper and remind the child to keep the thumb on top.
- The child becomes frustrated: Stop before fatigue sets in. End with an easy snipping activity and try again another day.
Product Selection and Care Tips
For home, preschool, or classroom use, choose scissors based on comfort, supervision level, and the materials children will cut most often. Ask practical questions before buying: Are the handles sized for small hands? Are the tips appropriate for the age group? Do the blades open smoothly? Can the scissors be cleaned and stored easily after craft sessions?
Keep children’s scissors separate from adult scissors. Store them in a labeled container, inspect them regularly for damage or stiffness, and replace any pair that no longer opens smoothly or has loose parts. If scissors are shared in a classroom, establish a return routine so every pair is accounted for after activities.
Practical FAQ
What age should a child start using scissors?
Many children can begin simple, supervised snipping around age 3, but readiness matters more than age. Look for interest, ability to sit briefly, and enough hand control to open and close the scissors safely.
Should left-handed children use special scissors?
Left-handed children may benefit from left-handed scissors because the blade position can make the cutting line easier to see. If a child struggles despite practice, try a left-handed or ambidextrous option.
How long should practice sessions be?
Short sessions work best. Five to ten minutes is often enough for beginners. Stop before the child becomes tired, because fatigue can reduce control and increase unsafe movements.
What materials are best for beginners?
Start with narrow strips of construction paper or other thicker paper. Thin paper can flop or tear, making it harder for young children to control.
How can I make cutting practice more engaging?
Use real projects: paper chains, collages, pretend food strips, greeting cards, or simple shape sorting. Children practice longer when the cutting has a clear purpose.
Final Thoughts
Teaching kids to cut is a gradual process built on safety, patience, and repeated practice. With the right scissors, simple rules, and age-appropriate activities, children can move from uncertain first snips to confident, controlled cutting. Celebrate progress, keep sessions positive, and always supervise young learners when scissors are in use.