
Teaching Kids How to Use Safety Scissors Correctly
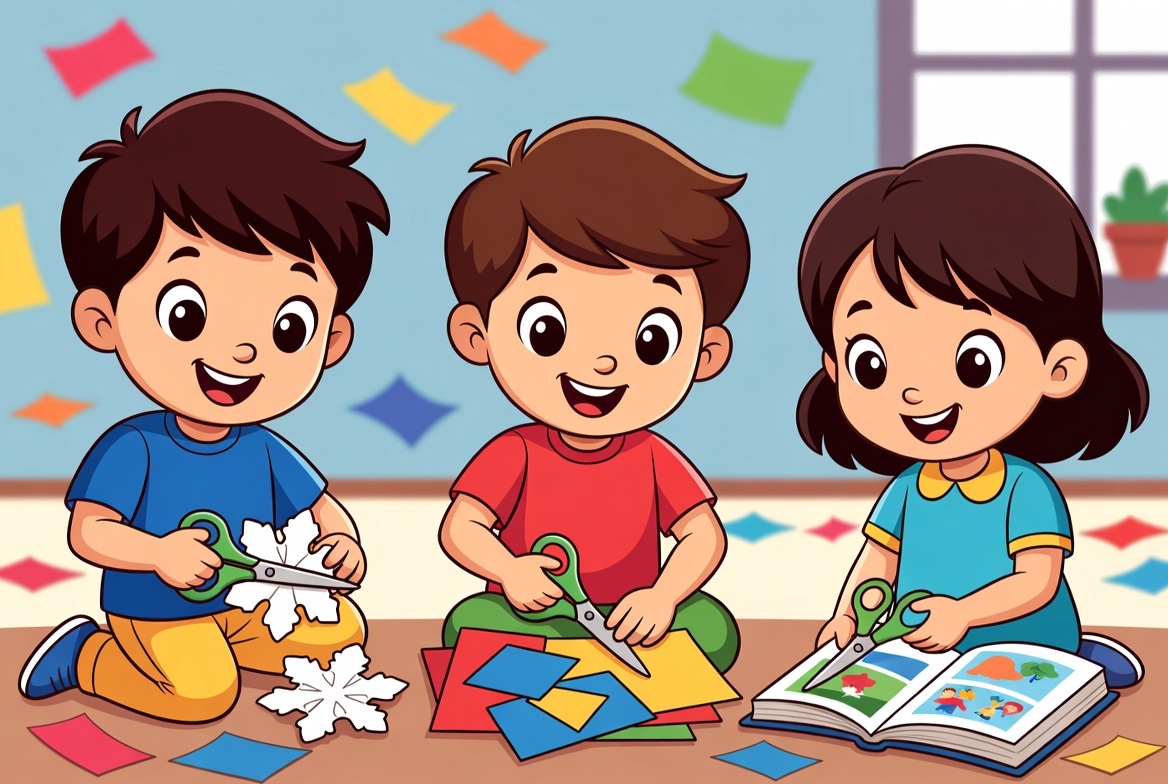
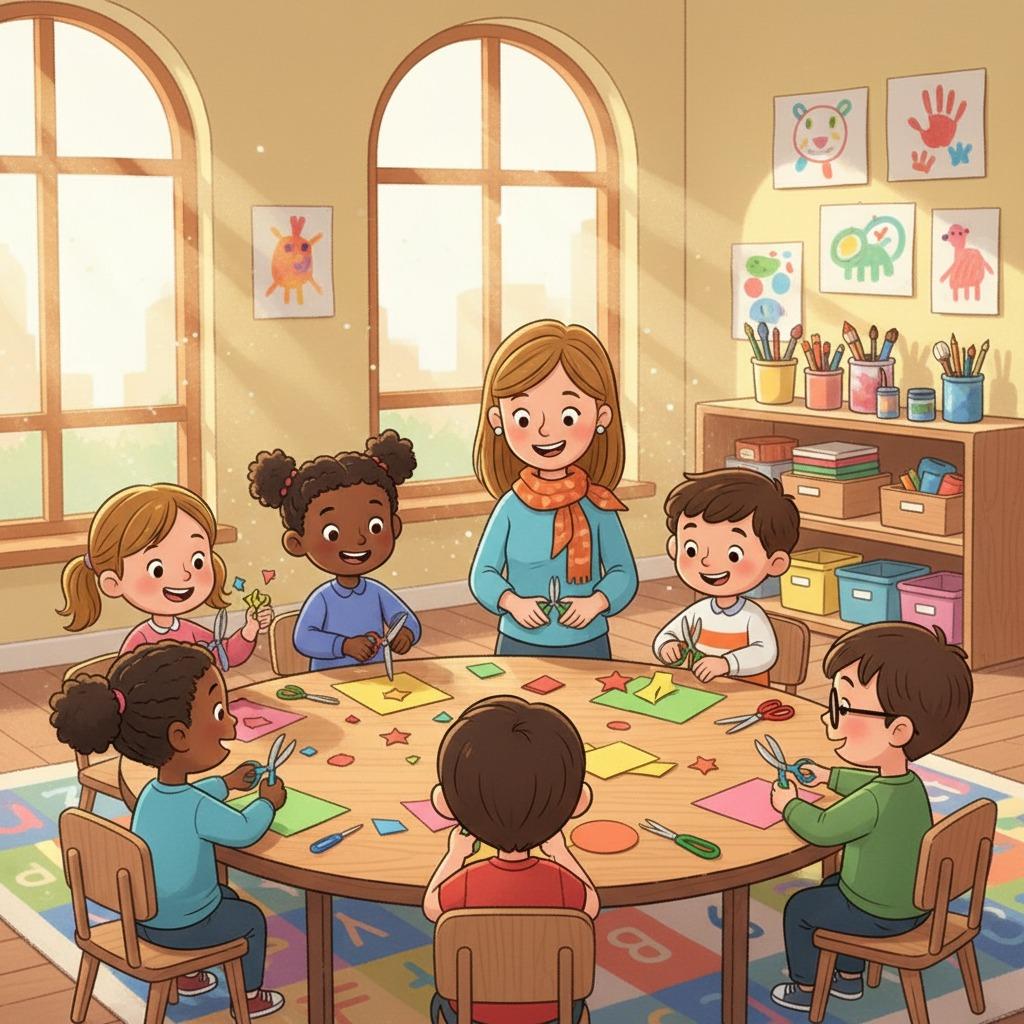
Learning to cut with scissors is a small milestone with big benefits. For children, scissor practice supports hand strength, finger coordination, bilateral movement, concentration, and confidence during art or classroom work. However, scissors are still tools, not toys. The goal is not simply to let a child cut paper, but to teach a repeatable routine: choose the right scissors, sit in a safe position, hold the tool correctly, cut with control, and put it away after use.
This guide is written for parents, teachers, and caregivers who want practical, age-aware guidance. It also explains why safety scissors are different from adult office scissors and how to build skills step by step without creating fear around cutting activities.
Key Takeaways
- Start with safety scissors that fit the child’s hand and follow the age guidance on the product packaging.
- Office scissors are designed for adult tasks and should not be the first cutting tool for young children.
- Teach grip, posture, paper position, and passing rules before beginning a craft project.
- Use short practice sessions with simple lines before moving to curves and shapes.
- Supervision matters, especially when children are still learning control and judgment.
Why Safety Scissors Matter
Young children are naturally curious, but their fine motor control is still developing. A child may understand the instruction “be careful” but still struggle to keep blades pointed away from fingers, clothing, or classmates. Safety scissors reduce risk by using child-oriented design features such as blunt or rounded tips and easier-to-hold handles. Some versions use plastic blades, while others may use child-safe metal blades; the correct choice depends on the child’s age, maturity, and the cutting activity.
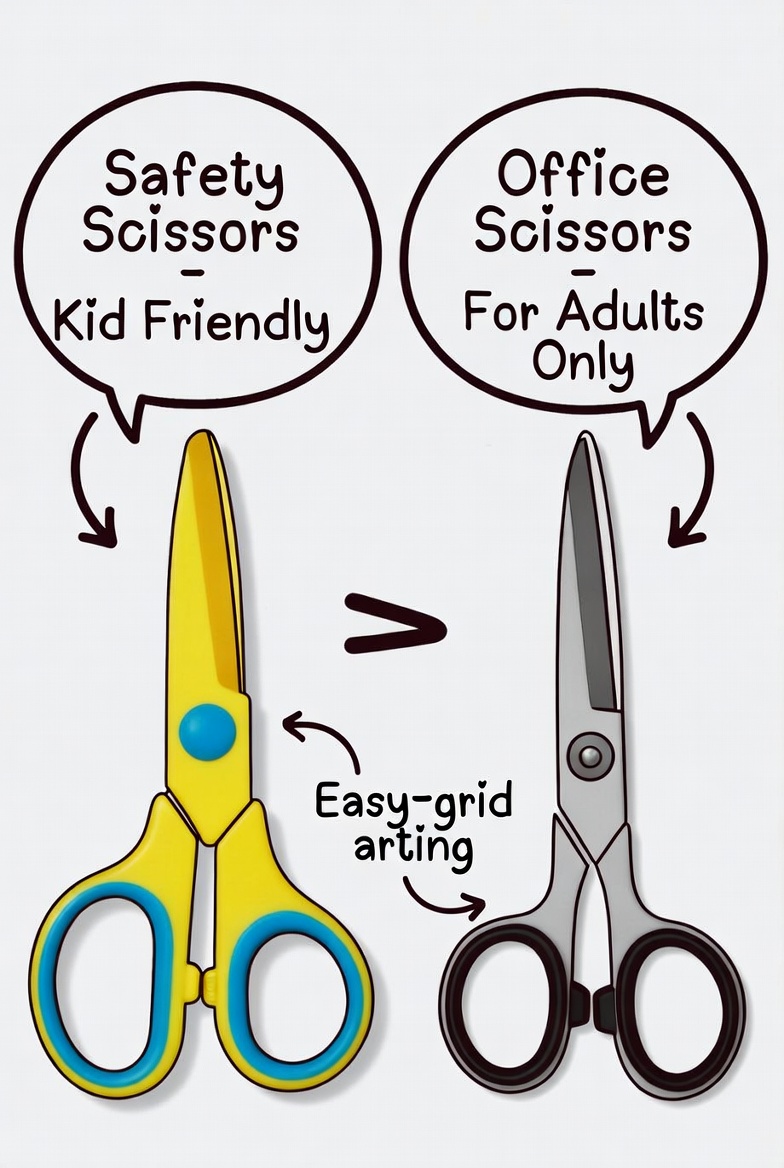
Adult office scissors serve a different purpose. They are typically made for cutting documents, packaging, labels, or other everyday office materials. Their sharper blades and pointed tips can be useful for adults, but those same features make them unsuitable for young children. If older children are ready to transition toward standard scissors, the change should be gradual and supervised.
Safety Scissors vs. Office Scissors: Quick Comparison
The table below can help families and classrooms choose the right tool for the situation.
| Selection Point | Safety Scissors for Kids | Office Scissors |
|---|---|---|
| Typical user | Young children learning basic cutting skills | Adults or older, responsible users |
| Tip design | Usually blunt or rounded to reduce injury risk | Often pointed for precision tasks |
| Blade behavior | Designed for controlled paper cutting practice | Sharper cutting for documents and office materials |
| Handle fit | Often larger or easier for small hands to grip | Usually sized for adult hands |
| Best use | Paper crafts, worksheets, classroom practice | Office work, packaging, detailed adult cutting |
| Supervision need | Required for beginners and young children | Not appropriate for unsupervised young children |
How to Choose Scissors for a Child
The best scissors are not always the smallest or the most colorful pair. Fit and control are more important. A child should be able to place the thumb comfortably in the top handle loop and two or more fingers in the lower loop without twisting the wrist. If the handle is too tight, cutting becomes frustrating. If it is too loose, the child may lose control.
Before buying or assigning scissors, check these points:
- Hand fit: The child can open and close the scissors without strain.
- Tip shape: Rounded or blunt tips are preferable for early learners.
- Cutting purpose: Choose scissors intended for paper practice, not heavy materials.
- Dominant hand: Left-handed children may need left-handed scissors for cleaner control.
- Adult review: Ask whether the product has age guidance and what materials it is meant to cut.
For schools or group activities, label scissors clearly and inspect them regularly. Bent blades, loose joints, or cracked handles can make cutting unpredictable and should be addressed before use.
Step-by-Step Method for Teaching Scissor Skills
Children learn best when adults demonstrate first, then give simple instructions. Avoid giving too many corrections at once. Focus on one skill, praise effort, and keep sessions short.
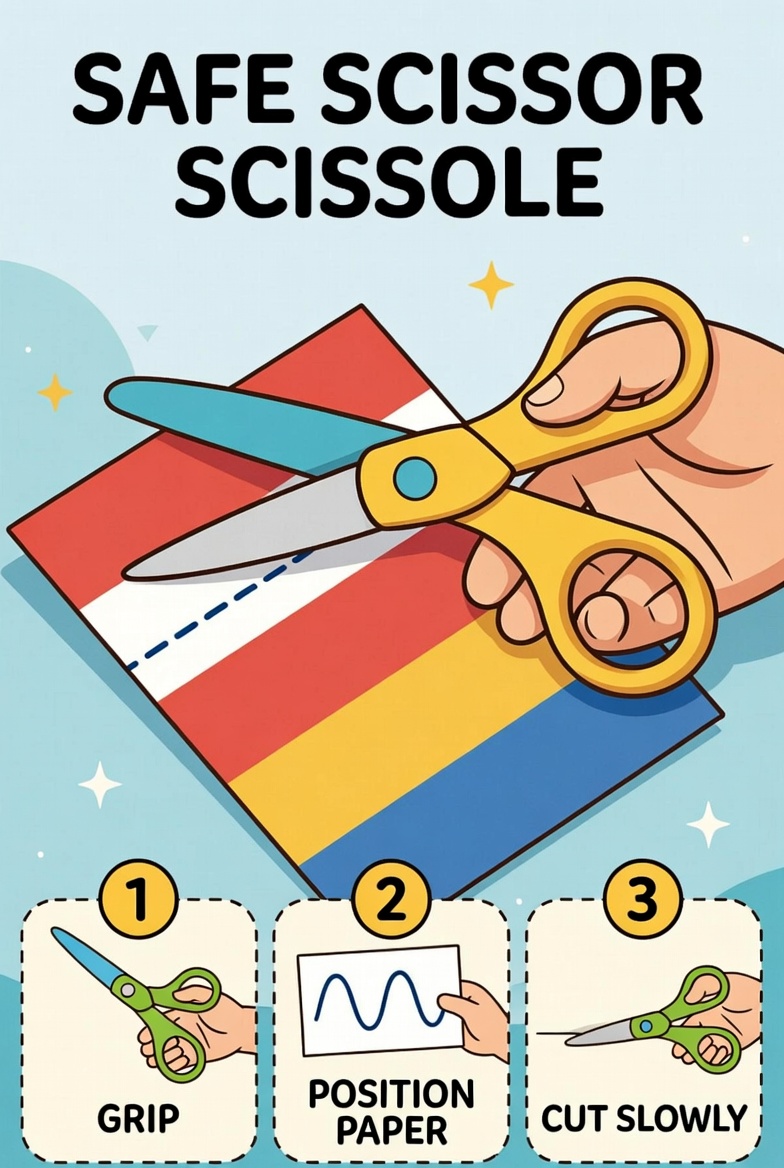
- Start seated. Ask the child to sit at a stable table with feet supported if possible. Cutting while standing, walking, or leaning increases risk.
- Show the grip. Demonstrate “thumb on top” and fingers in the lower loop. Some teachers use a small sticker on the thumbnail to remind children which side faces upward.
- Position the paper. The non-dominant hand should hold and turn the paper while the scissor hand opens and closes the blades.
- Begin with snips. Let the child cut small strips from the edge of paper before asking for long lines.
- Move to straight lines. Draw thick lines on paper and ask the child to follow the path slowly.
- Practice curves last. Circles, waves, and shapes require the support hand to rotate the paper, which is a more advanced skill.
- End with cleanup. Teach the child to close the scissors, place them in a safe location, and collect paper scraps.
Rules Every Child Should Know
Clear rules reduce confusion. Repeat them before every cutting activity until they become routine.
- Scissors are used only when an adult says it is time to cut.
- Cut paper only, unless an adult gives different instructions.
- Keep blades pointed away from your body and other people.
- Do not run, wave, or play with scissors.
- When passing scissors, close the blades and offer the handle first.
- If scissors feel stuck, stop and ask for help instead of forcing them.
- Put scissors away after the activity is finished.
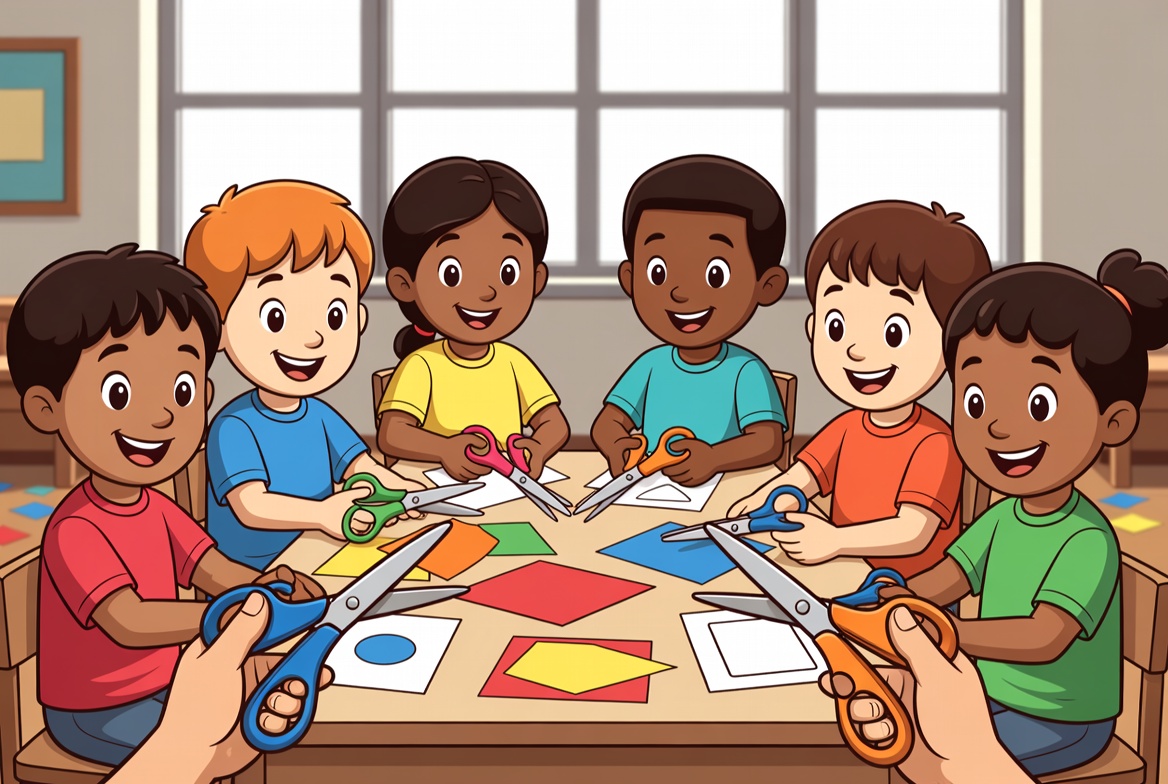
These rules are useful at home, in preschool, in elementary classrooms, and during group craft events. Consistency is more important than long explanations.
Practice Activities That Build Confidence
Scissor practice should feel manageable. If a child becomes frustrated, return to an easier activity rather than pushing ahead. Good starter materials include scrap paper, construction paper, old worksheets, and simple printed lines.
Try these activities in order of difficulty:
- Fringe cutting: Children snip along the edge of a strip of paper to make grass, hair, or a decorative border.
- Sticker rescue: Place stickers on a paper strip and ask the child to cut between them.
- Line roads: Draw thick straight roads for the scissors to “drive” along.
- Shape collage: Cut squares, triangles, and circles, then glue them into a picture.
- Story sequencing: Cut out simple picture cards and arrange them in order.
- Paper snowflakes: For older children, folded paper cutting encourages planning and careful snips.
Common Mistakes and How to Fix Them
If a child holds scissors sideways, remind them that the thumb stays on top. If the paper tears instead of cutting cleanly, check whether the scissors are appropriate for the paper thickness and whether the child is opening the blades wide enough. If the child cuts too fast, use shorter lines and ask them to pause after each snip.
Some children switch hands while learning. Observe which hand appears more controlled, but avoid forcing a choice too early. If a child is clearly left-handed and struggles with standard scissors, try a left-handed pair. Comfort often improves accuracy.
FAQ: Teaching Kids to Use Scissors Safely
What age should children start using safety scissors?
Many children begin practicing with safety scissors around preschool age, but readiness varies. Follow the age guidance on the scissors and supervise closely.
Can children use office scissors for crafts?
Young children should use safety scissors rather than office scissors. Office scissors are intended for adult tasks and may have sharper blades or pointed tips.
What should a child cut first?
Start with short snips on paper strips, then move to thick straight lines, curves, and simple shapes as control improves.
How can I make scissor practice safer in a classroom?
Use a seated cutting area, review rules before each activity, count scissors before and after use, and store them where children cannot access them without permission.
What if my child is afraid of scissors?
Let the child watch you demonstrate first. Begin with very short practice sessions and praise safe handling, not perfect cutting.
Final Thoughts
Teaching kids how to use safety scissors correctly is about building habits, not rushing results. Choose child-appropriate scissors, demonstrate each step, repeat simple rules, and offer practice that matches the child’s ability. With supervision and patience, children can develop cutting skills that support classroom work, crafts, and everyday independence.