

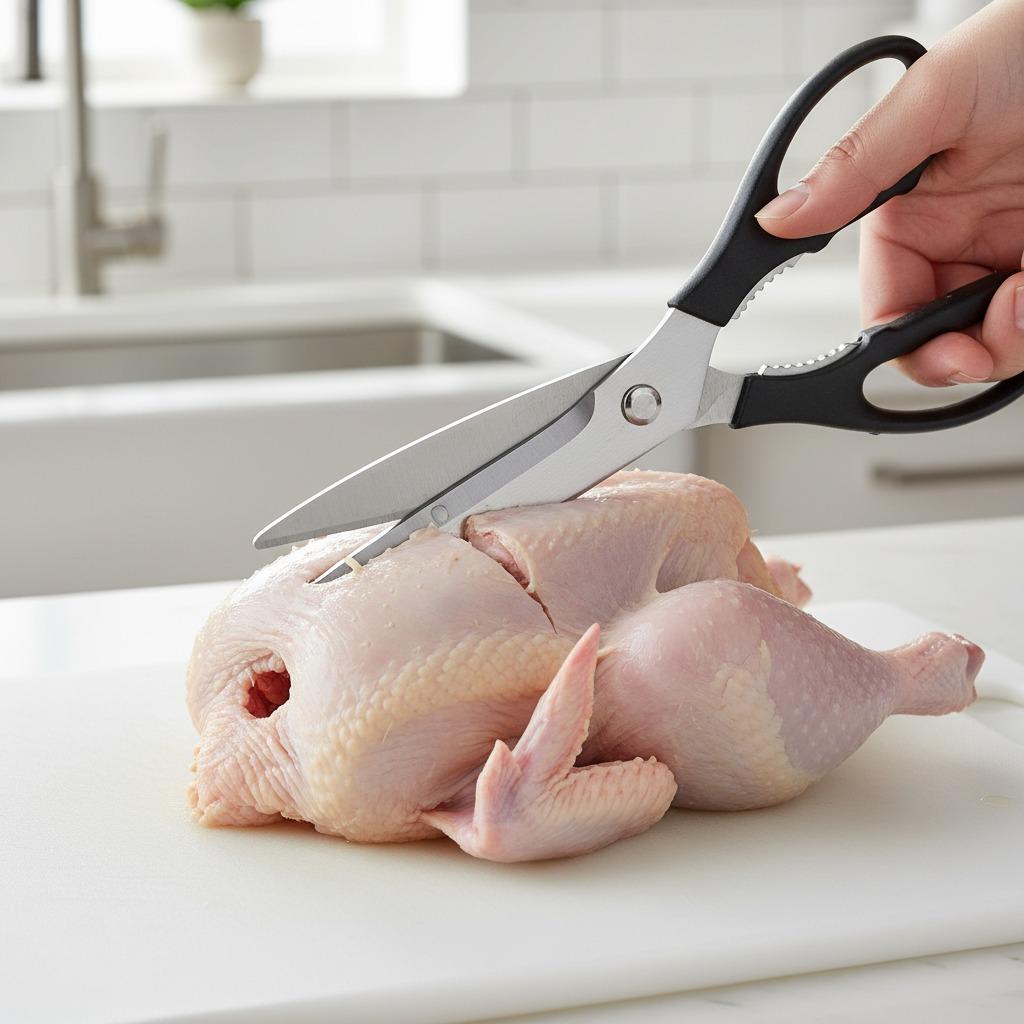
The Easiest Way to Spatchcock a Chicken Using Kitchen Scissors
Spatchcocking, also called butterflying, is a simple way to prepare a whole chicken so it cooks more evenly. Instead of roasting the bird in its rounded shape, you remove the backbone and press the chicken flat. The result is faster cooking, better heat contact, and a greater chance of crisp skin because more of the surface is exposed.
You do not need advanced butchery skills to do it. A sturdy pair of kitchen scissors or poultry shears is often easier to control than a large knife when cutting along the backbone. The key is to work slowly, keep the chicken stable, and clean your tools properly afterward.

Key Takeaways
- Use strong kitchen scissors or poultry shears to cut along both sides of the backbone.
- Dry the chicken before cutting so it is easier and safer to handle.
- Flattening the chicken helps the breast and legs cook more evenly.
- Wash and dry scissors thoroughly after contact with raw poultry.
Why Kitchen Scissors Work Well for Spatchcocking
A chef’s knife can remove a backbone, but it is not always the most comfortable tool for home cooks. Kitchen scissors let you make short, controlled cuts through skin, cartilage, and small bones. Because your hand stays above the bird rather than pushing a blade down across a slippery surface, many cooks find the process easier to manage.
Not every pair of scissors is suitable for poultry. Thin craft-style scissors or lightweight kitchen snips may twist, slip, or become damaged. Look for scissors intended for food preparation and strong enough for poultry tasks. If product details are not clear, check whether the supplier explains the intended use, cleaning method, blade construction, handle comfort, and whether the scissors can be separated for washing.
Tools and Setup Checklist
Prepare your workspace before opening the chicken package. This keeps the process cleaner and prevents you from reaching into drawers or cabinets with contaminated hands.
| Item | What to Look For | Why It Helps |
|---|---|---|
| Whole chicken | Fresh or fully thawed | A thawed bird is easier and safer to cut |
| Kitchen scissors | Sturdy food-prep scissors or poultry shears | Controlled cutting along the backbone |
| Cutting board | Large, stable, and non-slip | Reduces movement while cutting |
| Paper towels | Enough to dry the bird and hands | Improves grip and reduces slipping |
| Small bowl or bag | For the backbone and trimmings | Keeps scraps contained for stock or disposal |
| Soap and hot water | Ready for cleanup | Important after handling raw poultry |
Step-by-Step: How to Spatchcock a Chicken
- Dry the chicken. Remove the chicken from its packaging and pat it dry with paper towels. Check the cavity and remove any giblets if included. Place the bird breast-side down on the cutting board, with the tail end facing you.
- Find the backbone. The backbone runs down the center of the chicken’s back. You will cut on both sides of it, not through the middle of it.
- Cut one side. Starting at the tail, use your kitchen scissors to cut along one side of the backbone toward the neck. Use firm, short cuts rather than forcing the blades in one motion.
- Cut the other side. Rotate the bird if needed for a more comfortable angle. Cut along the second side of the backbone and remove it. Save it for stock if you like.
- Flatten the chicken. Turn the chicken breast-side up. Place the heels of your hands on the breastbone and press down firmly until the bird lies flatter. Tuck the wing tips under if they stick out.
- Season and cook. Add oil, salt, pepper, herbs, or your preferred seasoning. Roast, grill, or smoke according to your recipe, checking doneness with a food thermometer at the thickest parts.
Cooking Tips for Better Results
Spatchcock chicken cooks efficiently because the thick breast and leg sections sit at a more similar height. Still, the final result depends on heat control and doneness. A hot oven can encourage browning, while grilling requires attention to flare-ups and indirect heat. If the skin browns too quickly before the meat is done, move the chicken to a cooler area of the grill or loosely shield darker areas in the oven.
For crisper skin, dry the chicken well before seasoning. Some cooks place the prepared chicken uncovered in the refrigerator for a short period before cooking, which helps surface moisture evaporate. Do not rely on cooking time alone; chicken size, oven accuracy, and grill temperature can vary. Use a thermometer and follow current food-safety guidance for poultry.
How to Choose Kitchen Scissors for Poultry Prep
When selecting kitchen scissors for chicken, focus on practical handling rather than decorative features. The scissors should feel stable in your hand, open wide enough to work around bones, and provide enough leverage for repeated cuts. Handles should be comfortable when your hands are slightly wet, and the blades should meet cleanly without wobbling.
If you are comparing products online or sourcing scissors for a retail kitchenware range, ask clear questions before buying: Are the scissors intended for poultry? Can the blades be separated for cleaning? What materials are used for the blades and handles? What care instructions are provided? Are replacement, packaging, private-label, or inspection details available if buying wholesale? Avoid assuming material grade, coating, certification, or dishwasher suitability unless the supplier states it clearly.
Cleaning and Care After Cutting Raw Chicken
Raw poultry can contaminate cutting boards, handles, towels, and sink areas. Once the chicken is prepared, place it on a clean plate or tray before seasoning. Wash the scissors immediately with hot water and dish soap, paying attention to the hinge and any textured handle areas. If the scissors separate, clean each half carefully and dry them fully before storage.
Do not leave poultry scissors wet in a drawer. Moisture can damage many kitchen tools over time, and trapped food particles can create hygiene problems. If the manufacturer provides specific care instructions, follow them. Keep scissors sharp and reserve heavy-duty kitchen scissors for food tasks rather than packaging, wire, or non-food use.
Common Mistakes to Avoid
- Using dull or weak scissors: This can crush rather than cut and may cause slipping.
- Cutting on a small board: A cramped surface makes it harder to control the chicken.
- Forgetting to dry the bird: Wet skin is slippery and harder to grip.
- Pressing with fingertips: Use the heels of your hands when flattening for better force and control.
- Skipping cleanup: Wash tools, hands, counters, and boards after raw poultry contact.
FAQ
Can I spatchcock a chicken with regular kitchen scissors?
Only if they are strong enough for poultry. Lightweight scissors may bend or slip. Food-prep scissors or poultry shears are a better choice.
Do I have to remove the breastbone?
No. For most home cooking, removing the backbone and pressing the chicken flat is enough.
Can I use this method for turkey?
The same idea applies, but turkey bones are larger and require stronger tools. Check that your scissors are suitable before trying.
What should I do with the backbone?
You can save it for stock, along with other trimmings, or discard it safely.
Is spatchcocking better for roasting or grilling?
It works for both. Roasting is straightforward, while grilling may need indirect heat to avoid burning the skin before the meat is cooked through.