

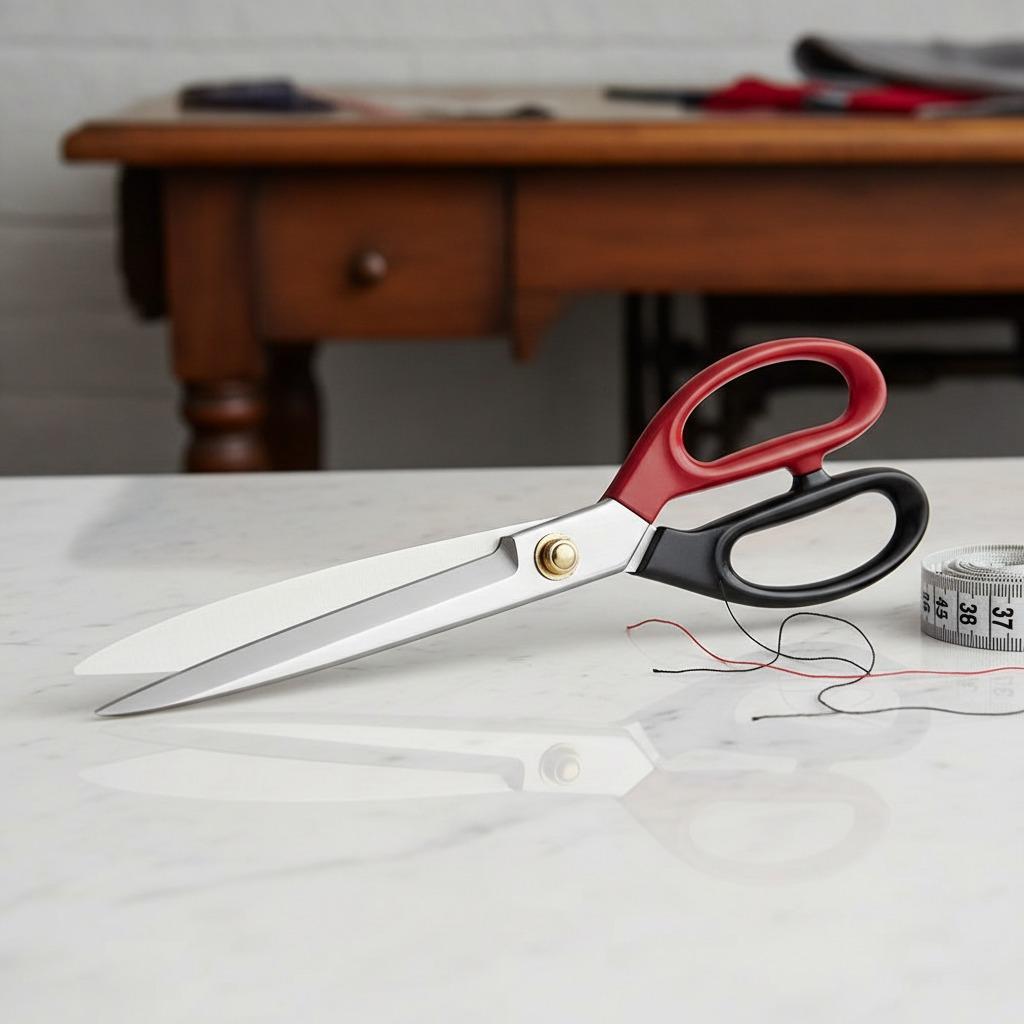
How to Master the Long Cut with Tailor Scissors
The long cut is one of the most important skills in tailoring and dressmaking. It means cutting a long, controlled line through fabric, such as a trouser inseam, dress side seam, coat panel, curtain length, or jacket hem. When the cut is clean, the sewing that follows becomes easier. When the cut wanders, the garment can lose symmetry, grain alignment, and fit.
Good results come from three things: stable fabric, accurate marking, and scissors that move smoothly through the cloth. Tailor scissors, also called tailor shears, are designed for this kind of work because their longer blades allow fewer stops and starts than general household scissors.

Key Takeaways
- A precise long cut starts before the scissors touch the fabric: press, align, mark, and secure the material first.
- Use long, steady blade strokes instead of short snips to reduce jagged edges.
- Pattern weights, chalk, a flat table, and sharp tailor scissors all support better cutting accuracy.
- For difficult fabrics, cut one layer at a time and test the method on a scrap piece.
Why Long Cuts Are Difficult
Fabric is flexible, and that flexibility is exactly what makes cutting challenging. Woven cloth can shift off grain. Slippery materials can creep away from the pattern. Thick fabrics may resist the blade and pull out of line. Even cotton can develop a slight wave if the hand opens and closes the scissors too quickly.
Long cuts also magnify small errors. A deviation of only a few millimeters at the beginning can become a visible angle by the end of a long seam. In tailoring, this can affect how two garment pieces match, how a hem hangs, or how a finished seam presses open. For this reason, professional cutters treat long cutting as a controlled process rather than a quick task.
Set Up the Fabric Before Cutting
Preparation is the most reliable way to improve accuracy. Start with a table large enough to support the full cutting area. If fabric hangs off the edge, its weight can pull the grain out of position. The surface should be clean, dry, and free of raised edges that may catch the scissors.
- Press the fabric first. Wrinkles create false lines and can shorten or lengthen one area of the cloth.
- Check the grain line. Align the selvage, fold, or marked grain line according to the pattern instructions.
- Place the pattern flat. Avoid stretching knit or bias-cut fabrics while positioning the pattern.
- Use pattern weights when possible. Pins are useful, but they can slightly lift or distort long cutting paths.
- Mark clearly. Tailor’s chalk or a removable fabric marker gives the scissors a visible path to follow.
Choosing Tailor Scissors for Long Cuts
Not every pair of scissors is suitable for fabric. Household scissors may crush fibers, chew through dense cloth, or drift away from the line. Tailor scissors typically have longer blades, a stable pivot, and handles shaped to keep the lower blade close to the table. Many dressmakers prefer scissors in the 8 to 12 inch range, depending on hand size, fabric type, and cutting space.
When selecting scissors, do not rely only on appearance. Open and close the blades to feel whether the motion is smooth from pivot to tip. Ask the supplier what materials the blades are made from, whether the tension can be adjusted, and what maintenance is recommended. If buying for a studio, school, or workshop, also ask whether replacement, sharpening, or after-sales support is available.
Tool Comparison and Cutting Checklist
| Tool or Step | Best Use | What to Check | Why It Matters |
|---|---|---|---|
| Tailor scissors | Long straight and gently curved fabric cuts | Smooth blade action, comfortable grip, sharp full-length edge | Reduces stopping, dragging, and uneven edges |
| Pattern weights | Holding paper and fabric flat | Enough weight to stop shifting without stretching fabric | Keeps long lines aligned without pin distortion |
| Tailor’s chalk | Marking cut lines and grain references | Visibility on the fabric and removability after use | Gives a clean visual guide for the cut |
| Large cutting surface | Supporting the whole fabric length | Flat, clean, stable, and well lit | Prevents fabric drag and accidental shifting |
| Test scrap | Checking difficult fabrics | Blade response, fraying, slipping, and marking method | Helps avoid mistakes on the garment piece |
Step-by-Step Long Cut Technique
Once the fabric is prepared, position your body so your cutting arm can move forward naturally. Stand or sit with the cutting line directly in front of you. Avoid twisting your wrist, because this can make the blade angle change during the stroke.
Place the lower blade under the fabric and keep it close to the table. Open the scissors wide enough to use most of the blade length, then close them in a smooth motion. Stop before the tips fully snap shut; closing the tips hard can create a small notch. Slide the scissors forward while keeping the lower blade in contact with the cutting surface, then repeat.
Use your non-cutting hand to guide the fabric lightly, not to pull it. Pulling may stretch the edge before it is cut. If the fabric begins to shift, stop, flatten the area again, and continue from the last clean point. A controlled pause is better than forcing the blade through a misaligned section.
Fabric-Specific Adjustments
Stable woven fabrics are the easiest to cut, but not all projects use stable cloth. For slippery fabrics, reduce the number of layers and consider cutting a single layer for better control. For thick fabric, use steady pressure and avoid overloading the scissors with too many layers. For loosely woven material, handle the edge carefully after cutting because it may fray before sewing.
Knits require special attention because they can stretch while being marked or cut. Let the fabric relax on the table before laying out the pattern. Do not hang part of the material over the edge. If the cut line becomes wavy, check whether the fabric was stretched during marking rather than assuming the scissors are the only problem.
Care and Maintenance for Cleaner Cuts
Sharp scissors are safer and more accurate than dull scissors because they need less force. Reserve fabric scissors for fabric only; paper, tape, plastic, and wire can damage or dull the cutting edge. After use, wipe away lint and store the scissors closed in a dry place. If the blades feel loose, stiff, or uneven, check whether the pivot can be adjusted or whether professional sharpening is needed.
For shared workrooms, label fabric scissors clearly and set a simple care rule: no non-fabric cutting. This small habit protects the tool and helps every user get more consistent results.
FAQ
What size tailor scissors are best for long cuts?
Many sewists choose 8 to 12 inch tailor scissors. Longer blades help with straight cuts, but the best size is the one you can control comfortably.
Should I use scissors or a rotary cutter?
Both can work. Scissors are versatile for garment cutting and curves, while a rotary cutter can be useful with a ruler and mat for very straight lines. Choose based on fabric, workspace, and control.
Why does my fabric edge look jagged?
Common causes include dull blades, short snipping motions, fabric shifting, or closing the scissor tips too hard at each stroke.
How can I cut slippery fabric more accurately?
Cut one layer at a time, use more weights, mark lightly but clearly, and test on a scrap before cutting the main garment pieces.
How often should tailor scissors be sharpened?
It depends on use, fabric type, and blade condition. If the scissors drag, crush fibers, or miss spots near the tip, ask a sharpening professional or supplier for guidance.