


Mastering the Long Cut: Techniques for Precision in Tailoring
In the world of tailoring, few skills separate the amateur from the master quite like the long cut. This refers to those extended, straight-line cuts along fabric lengths—think inseams on trousers, side seams on dresses, or hems on jackets. A single imprecise long cut can waste precious material, distort pattern alignment, or create uneven edges that ruin the final garment's drape and fit.
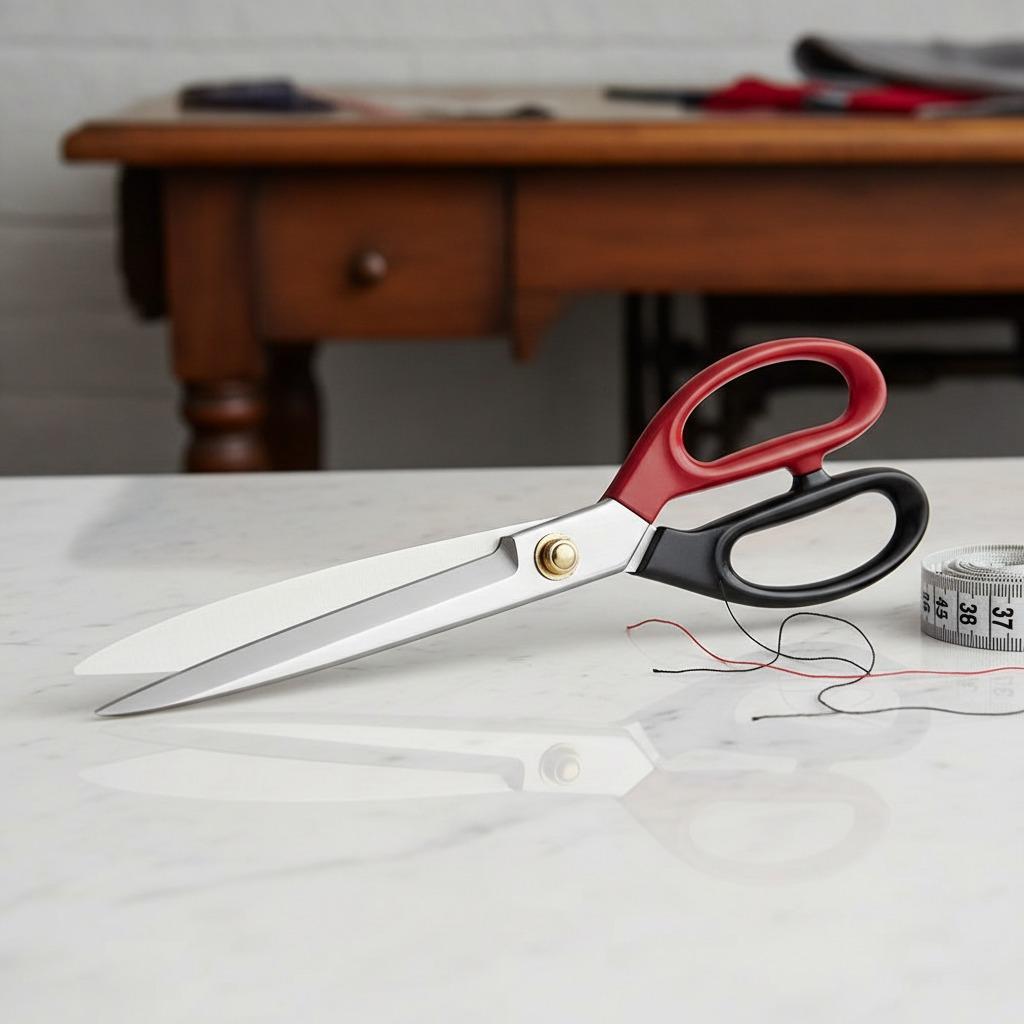
Mastering the long cut demands patience, the right tools, and proven techniques. At the heart of it all? Tailor scissors (also called shears)—those iconic, long-bladed instruments designed specifically for clean, uninterrupted fabric slicing. In this illustrated guide, we'll break down everything you need to know, complete with step-by-step advice, a handy reference table, and real-world visuals featuring tailor scissors in action.
![Amazon.com: TONMA Fabric Scissors [Made in Japan] 12 inch Professional Tailor Sewing Scissors for Fabric Cutting, Commercial Heavy Duty Stainless Steel Dressmaking Shears for Leather Carpet Upholstery Crafting](https://m.media-amazon.com/images/I/516uC716DML._AC_UF894,1000_QL80_.jpg)
Why the Long Cut Demands Precision
Fabric has a mind of its own—grain lines shift, layers slip, and even the slightest wobble in your hand can turn a 60-inch straight cut into a wavy disaster. Precision matters because:
- It prevents fabric waste (especially with costly materials like wool or silk).
- It ensures symmetrical pieces for professional-looking garments.
- It sets the foundation for clean sewing and pressing later.
Professional tailors treat every long cut as a ritual: preparation, execution, and verification.
Essential Tools: Spotlight on Tailor Scissors
Your primary weapon for long cuts is a pair of high-quality tailor scissors. These aren't ordinary household shears—they feature long blades (typically 8–12 inches) for smooth, continuous strokes without frequent repositioning. Look for:
- Stainless steel or high-carbon blades that stay sharp.
- Offset handles for ergonomic grip and fabric clearance.
- A sharp tip for accuracy at pattern corners.
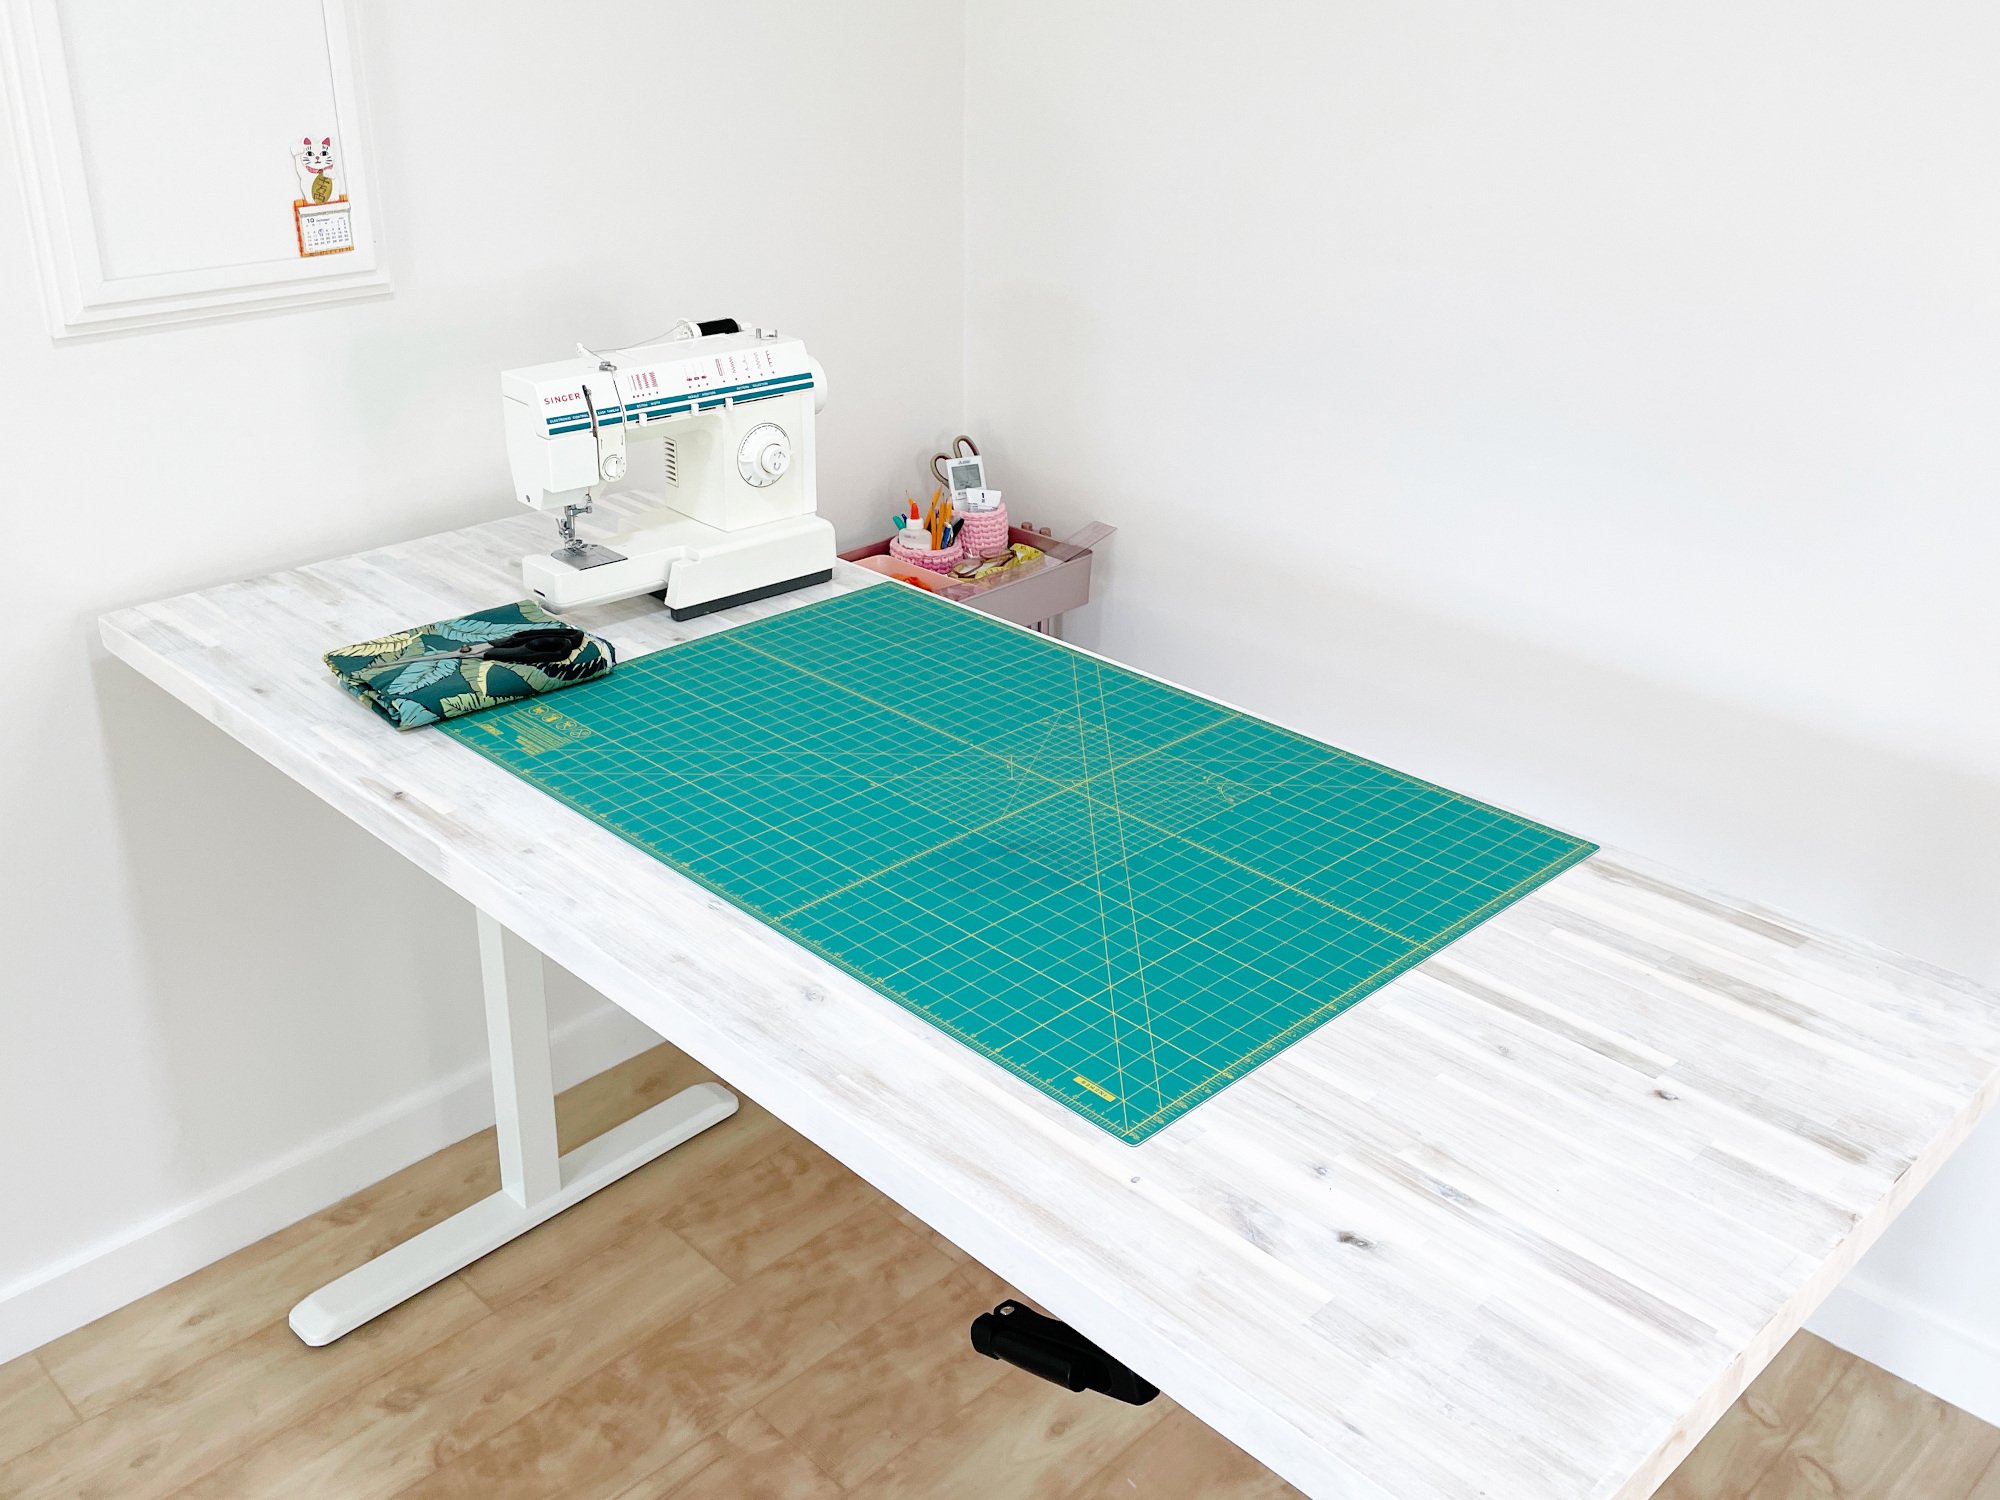
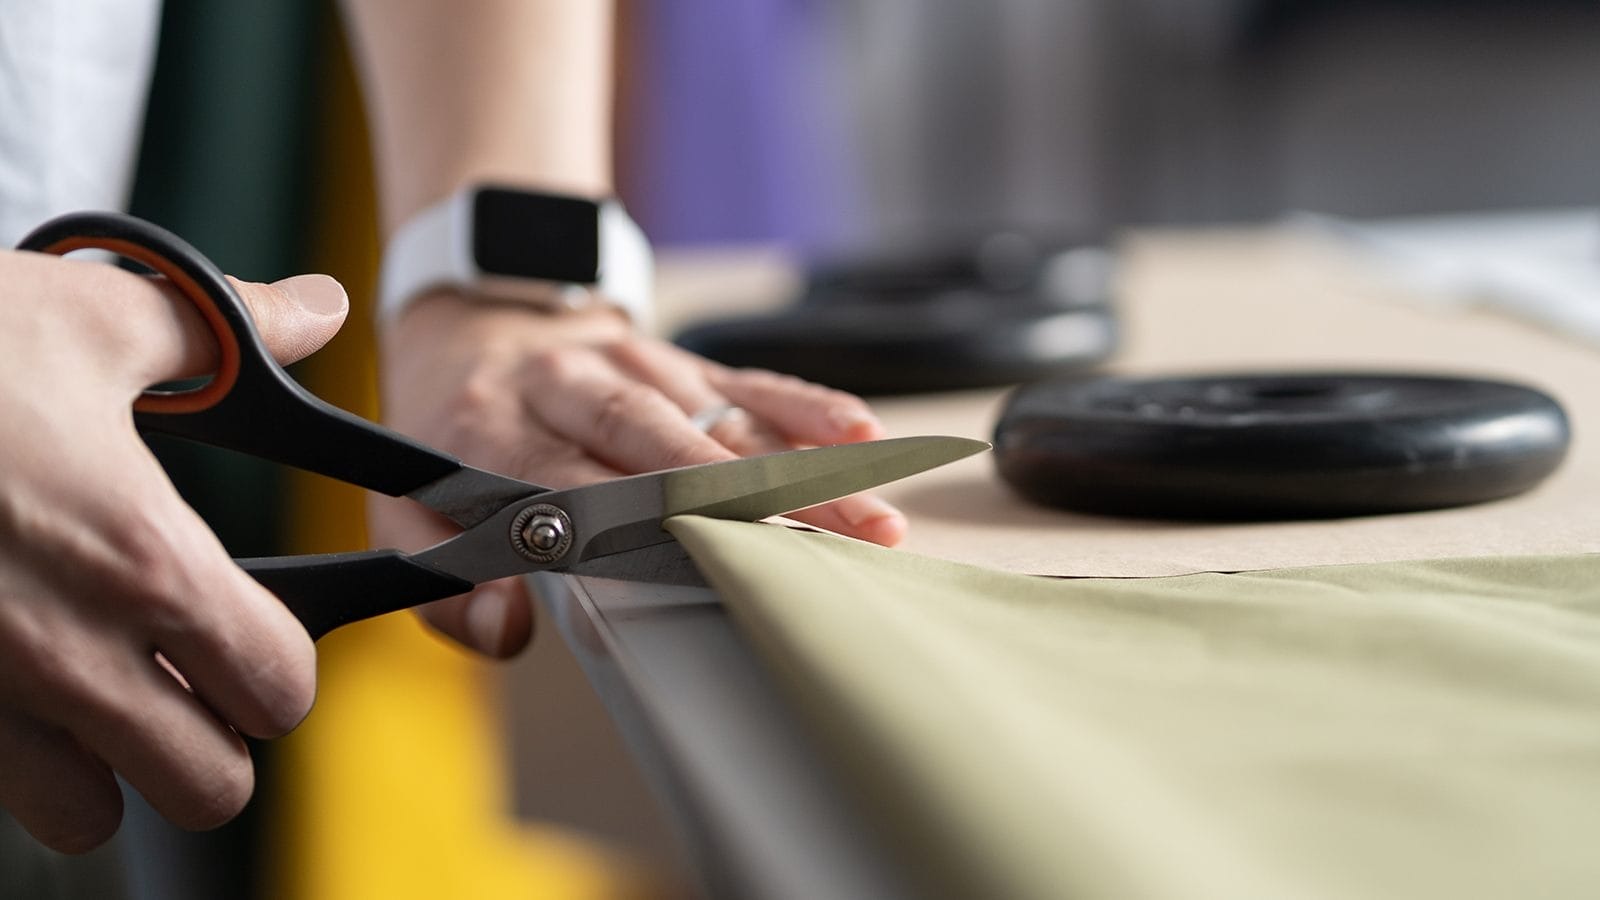
Other supporting tools include pattern weights (to avoid pin distortion), tailor's chalk, and a large, flat cutting surface.
![Amazon.com: TONMA Sewing Scissors [Made in Japan] 9 Inch Professional Fabric Scissors, Industrial Japanese Solid Stainless Steel Dressmaker Tailor Shears, Ideal for Cutting Cloth Denim Leather, Mirror Finish : Arts, Crafts &](https://m.media-amazon.com/images/I/51bLi2QhbrL._AC_UF894,1000_QL80_.jpg)

Here's a quick comparison table of key tools for long-cut precision:
| Tool | Best For | Precision Benefit | Pro Tip |
|---|---|---|---|
| Tailor Shears (10–12") | Long straight cuts | Long blades = fewer stops, cleaner lines | Choose Japanese or German steel |
| Pattern Weights | Holding fabric flat | No pin holes or shifting | Use 4–6 weights per long piece |
| Rotary Cutter + Mat | Alternative for very long cuts | Laser-straight with ruler guide | Great backup, but scissors preferred for curves |
| Tailor's Chalk/Tracer | Marking grain lines | Visible, temporary guides | Test on scrap fabric first |
Step-by-Step Techniques for Flawless Long Cuts
Follow these methods every time, and your long cuts will rival those of Savile Row tailors.
- Prepare Your Workspace Use a large, stable cutting table. Ensure the fabric lies completely flat with no folds or wrinkles. Good lighting is non-negotiable.
- Mark and Align Accurately Lay out your pattern, align the grain line perfectly, and mark the cut line with tailor's chalk or a tracing wheel. Secure with weights rather than pins for long stretches to avoid distortion.
- Master the Grip and Posture Stand with feet shoulder-width apart. Hold the scissors with your dominant hand, thumb in the top handle loop, and fingers in the bottom. Keep the fabric lifted slightly with your non-dominant hand to let the blades glide.
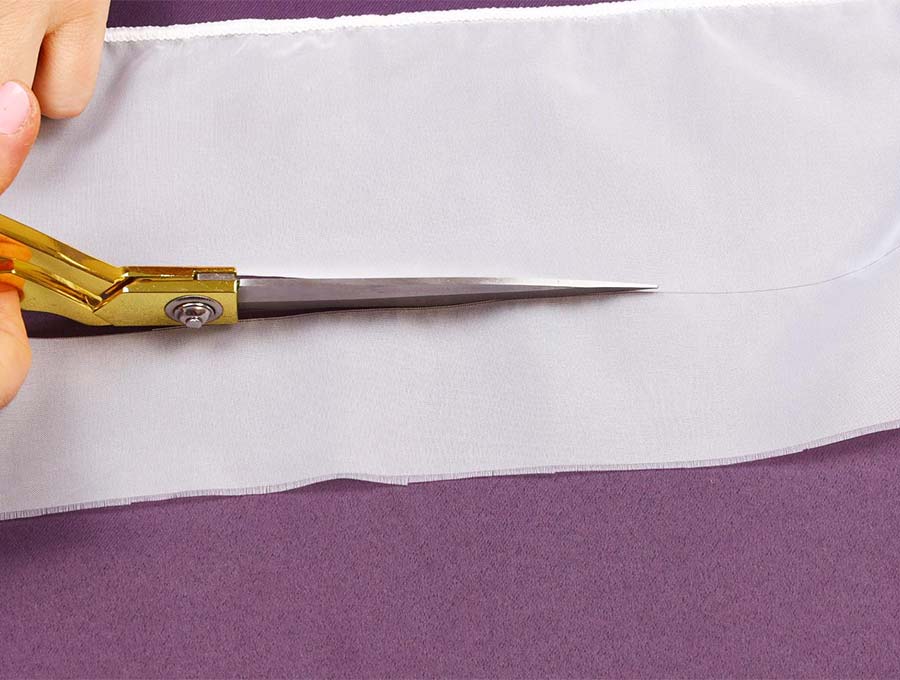
- Execute the Long Cut Start at the edge and use long, even strokes—let the full length of the tailor scissors do the work. Avoid short, choppy snips. Cut slightly outside the marked line if needed for later trimming.

- Verify and Finish Check the cut edge against the pattern. A clean long cut should have a razor-sharp, straight line with no fraying.
Advanced Tips from the Tailor's Bench
- Single vs. Double Layer: For ultimate precision on tricky fabrics, cut one layer at a time rather than folded.
- Fabric-Specific Adjustments: Silk or slippery synthetics? Use a slightly duller blade edge to prevent snagging. Denim or wool? Full-length 12-inch shears shine here.
- Maintenance Matters: Hone your tailor scissors regularly and store them closed in a dedicated case—dull blades are the enemy of precision.
- Practice Drill: Cut newspaper strips in 3-foot lengths until you can do it blindfolded with perfect straightness.
Final Thoughts
The long cut isn't just a technique—it's a mindset of respect for the fabric and the craft. With sharp tailor scissors, a methodical approach, and these precision strategies, you'll transform potential frustration into flawless results every time. Whether you're a home sewist or aspiring professional, practice these methods and watch your garments elevate to couture level.
Grab your shears, clear your table, and start mastering the long cut today. Your next perfectly fitted jacket awaits!
