

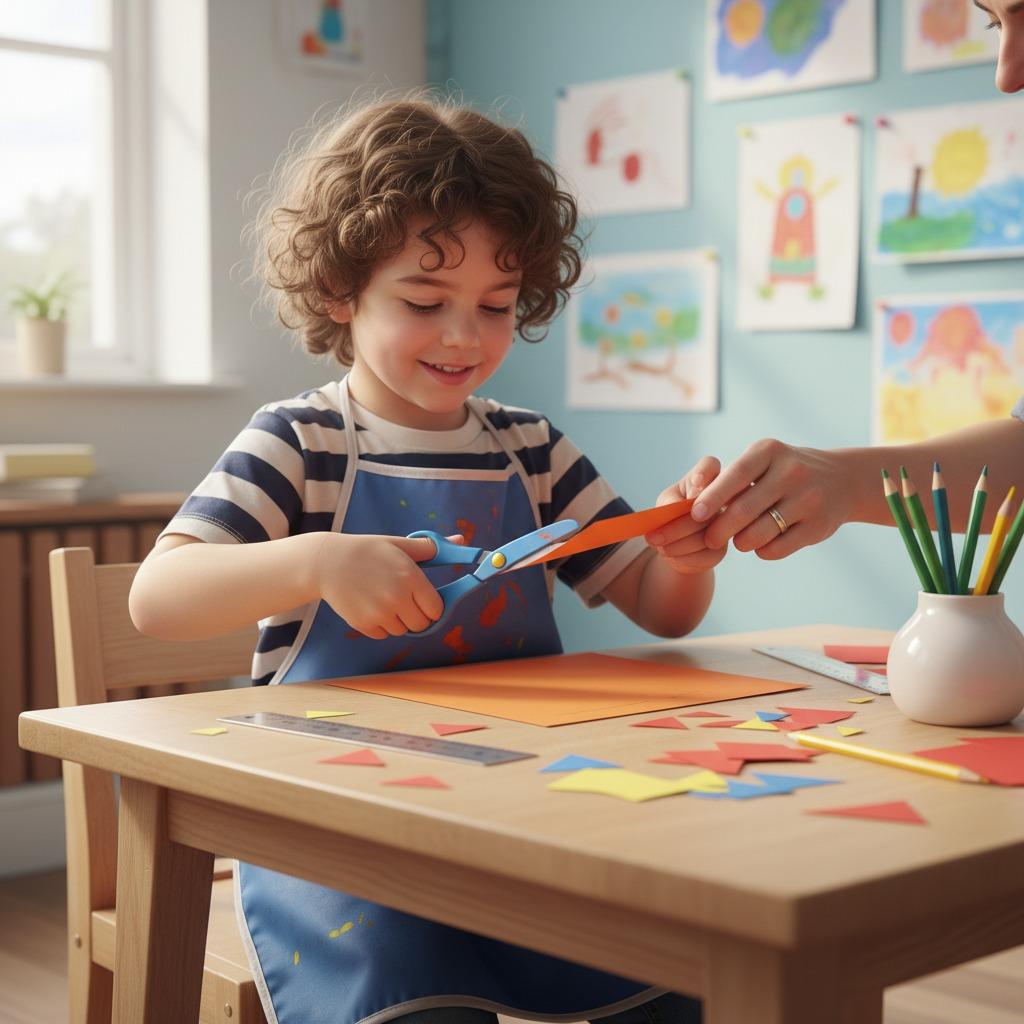
How to Help a Left-Handed Child Learn to Cut with Scissors
Cutting with scissors is a small classroom task with a big developmental purpose. It builds hand strength, finger coordination, visual tracking, bilateral coordination, and confidence for art, handwriting, and daily school activities. For a left-handed child, however, learning to cut can feel harder than it needs to be when the tools, demonstrations, and worksheet setup are designed mainly for right-handed learners.
The good news is that left-handed children do not need to “adapt” to right-handed cutting habits. They need clear instruction, suitable school scissors, and a practice setup that lets them see the cutting line without twisting the wrist. This guide explains how parents, preschool teachers, and early elementary educators can support left-handed scissor skills in a safe, patient, and practical way.
Key Takeaways
- Left-handed children need scissors that open and close naturally in the left hand, not just right-handed scissors held in the other hand.
- Paper position matters: the child should be able to see the line clearly while keeping the thumb up.
- Short, frequent practice sessions work better than long sessions that cause fatigue.
- Adults should demonstrate in a way the child can copy, using mirror positioning or left-handed examples.
Why Cutting Can Be Difficult for Left-Handed Children
Many left-handed children struggle because the learning environment is unintentionally right-hand focused. A teacher may demonstrate with the right hand, place worksheets at a right-handed angle, or hand out classroom scissors that are not comfortable for left-handed use. The child may then compensate by bending the wrist, raising the elbow, or turning the paper in an awkward direction.
Another common issue is visibility. When a left-handed child uses the wrong blade orientation or holds the paper like a right-handed peer, the cutting line can become hidden behind the upper blade or the hand. The child may cut beside the line, chew the paper edge, or give up because the result looks messy even when they are trying hard.
Support starts with recognizing that these are setup problems, not ability problems. Small adjustments can make cutting feel much more natural.
Choose the Right Tools Before You Start
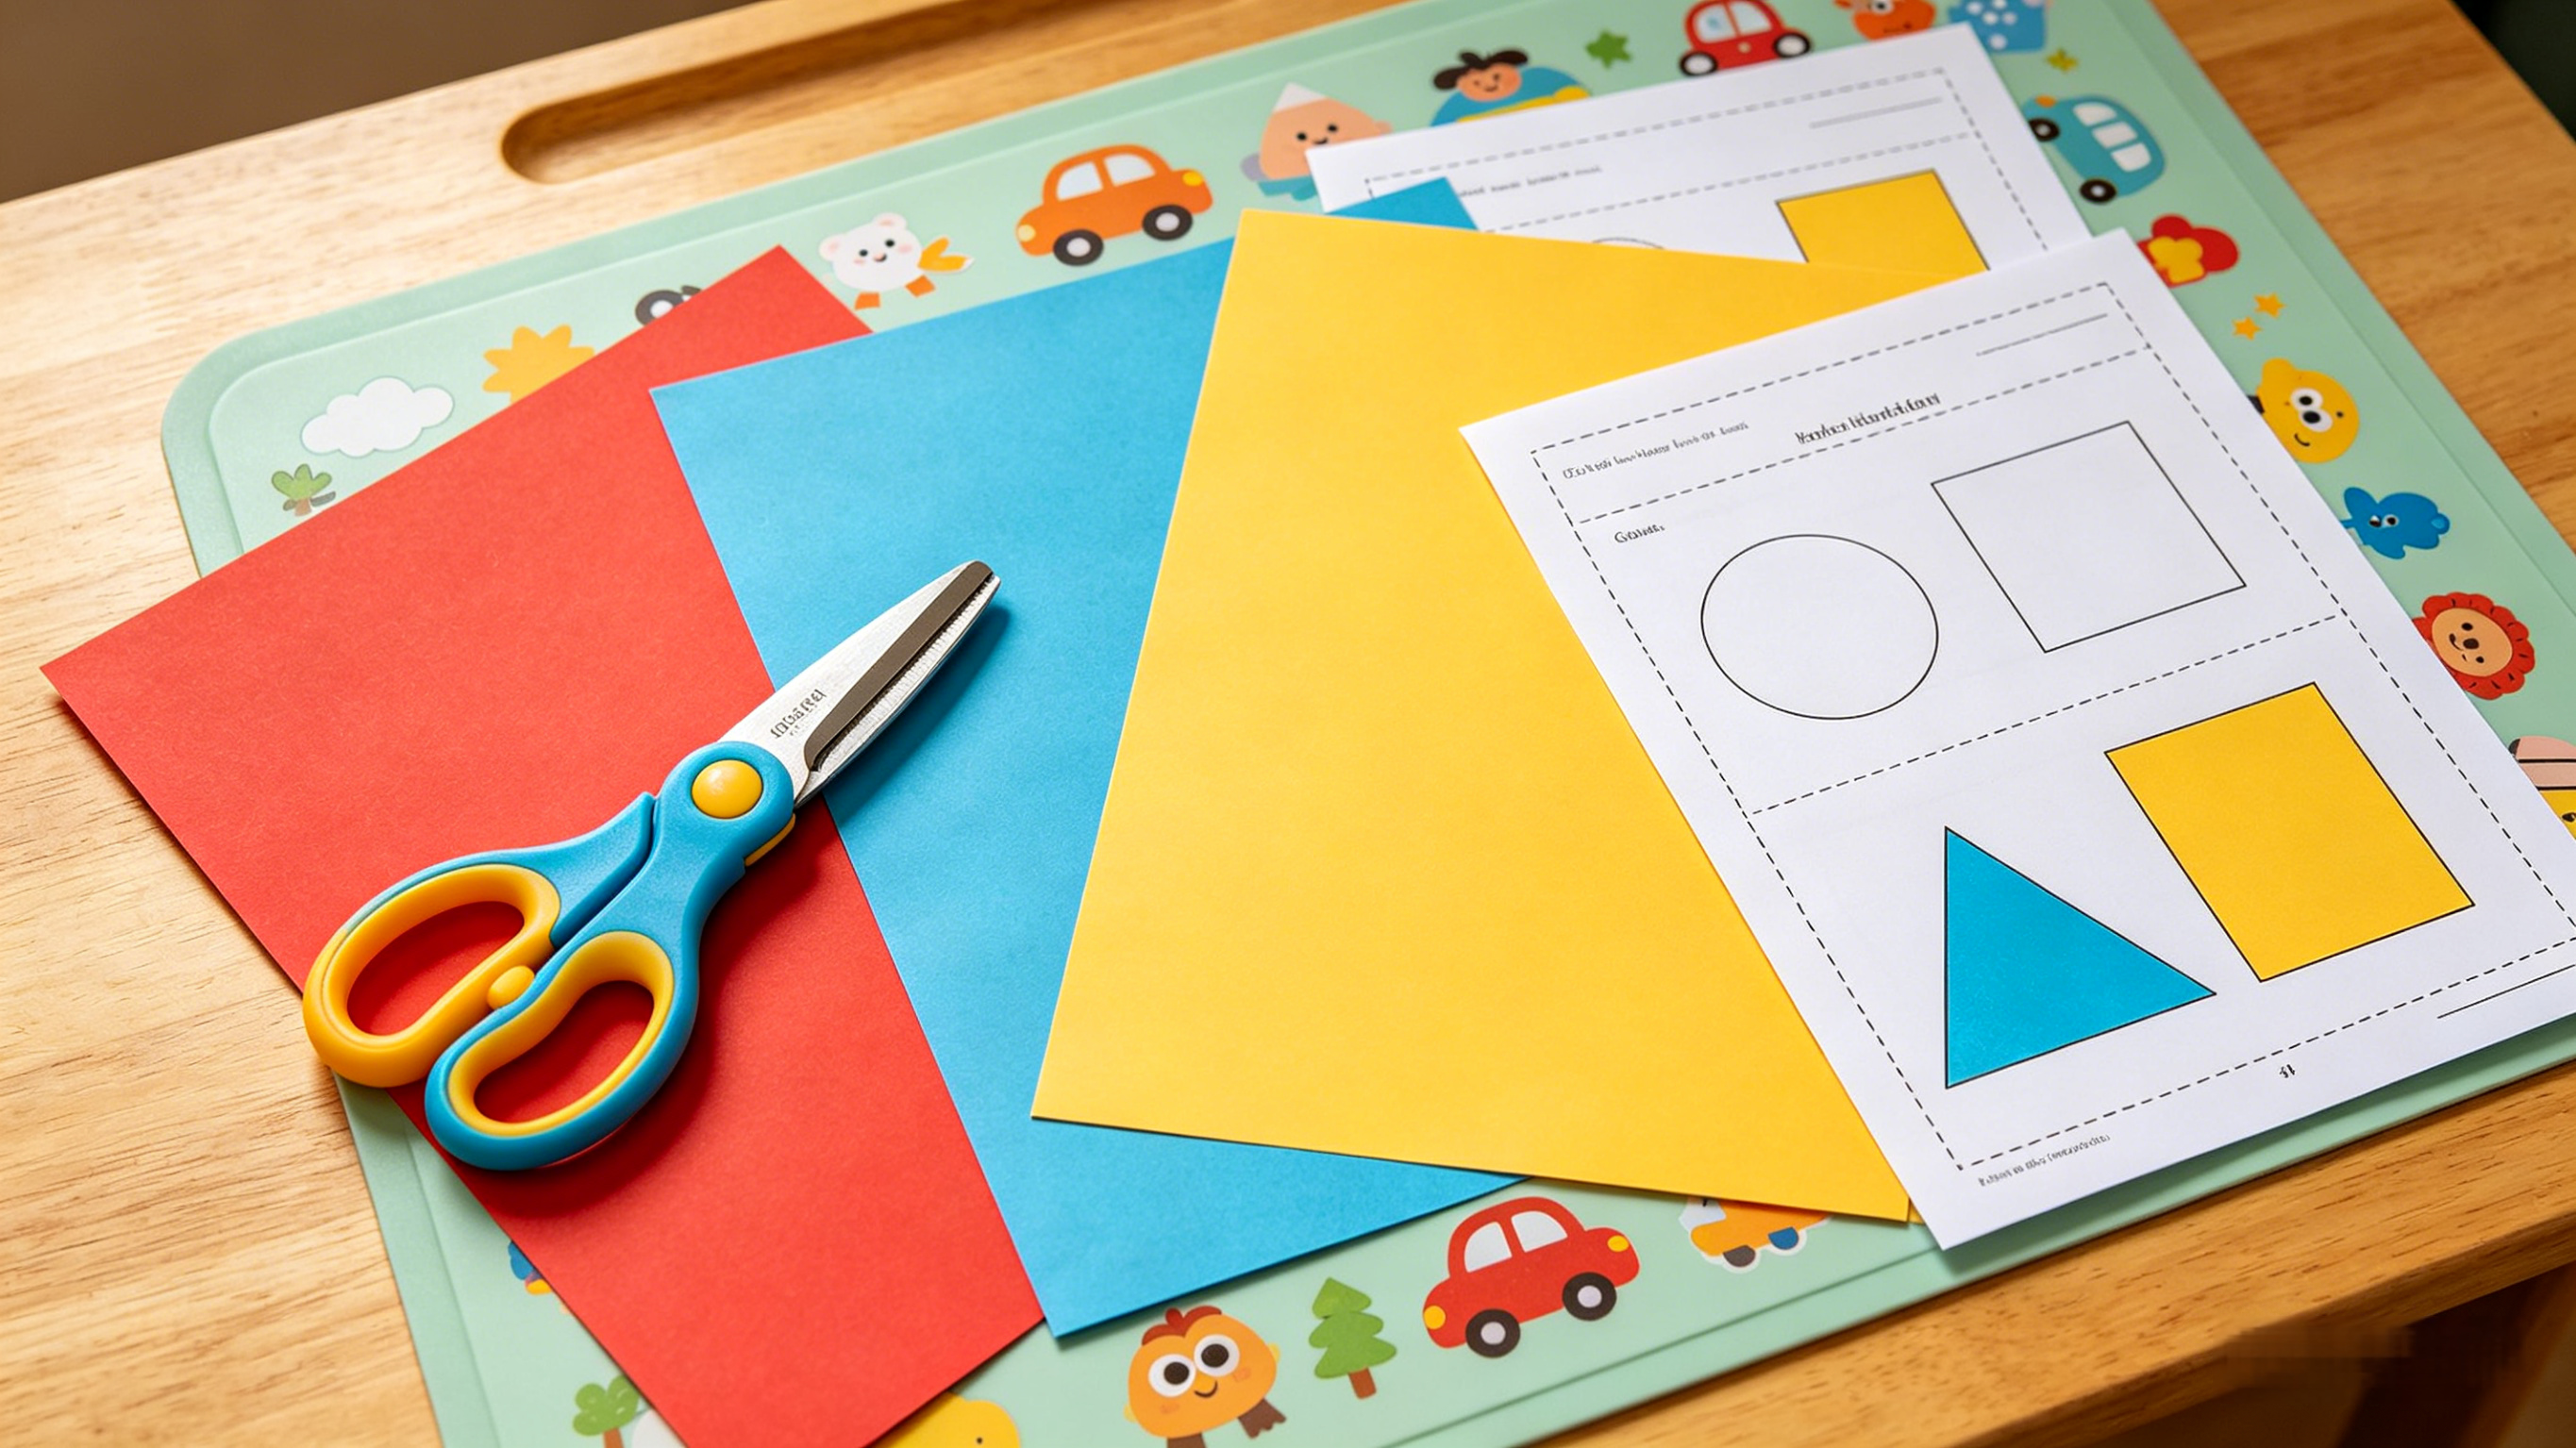
Scissor practice is easier when the child has tools matched to their stage of development. For young learners, adults should look for age-appropriate school scissors and ask practical questions before purchase: Are they intended for left-handed use? Are the handles comfortable for small hands? Are the tips suitable for the child’s age and supervision level? Can the child open and close them without excessive force?
| Item | What to Look For | Why It Helps |
|---|---|---|
| Left-handed school scissors | Scissors designed for left-hand grip and classroom practice | Helps the blades align more naturally so the child can cut without twisting the wrist |
| Sturdy practice paper | Construction paper or card that is not too floppy | Holds its shape, making it easier for beginners to control |
| Wide cutting lines | Bold straight, curved, and zigzag lines | Gives a clear visual target and reduces frustration |
| Stable work surface | Flat table and chair at the right height | Supports posture and reduces shoulder tension |
| Small paper strips | Narrow strips for snipping practice | Allows early success before full-page cutting tasks |
Teach the Left-Handed Scissor Grip
Before cutting along lines, teach the grip. Place the scissors in the child’s left hand with the thumb in the upper loop. The thumb should point upward, not sideways. The middle finger and, if comfortable, the ring finger can go in the lower loop. The index finger may rest outside the loop to help guide direction.
Use simple reminders rather than long instructions. Phrases such as “thumb on top,” “elbow relaxed,” and “open and close slowly” are easier for children to remember. If the child turns the wrist inward or lifts the elbow high, pause and reset gently. Avoid saying that their natural left-handed approach is wrong; instead, show the position that makes the cut easier.
Position the Paper for a Clear Cutting Line
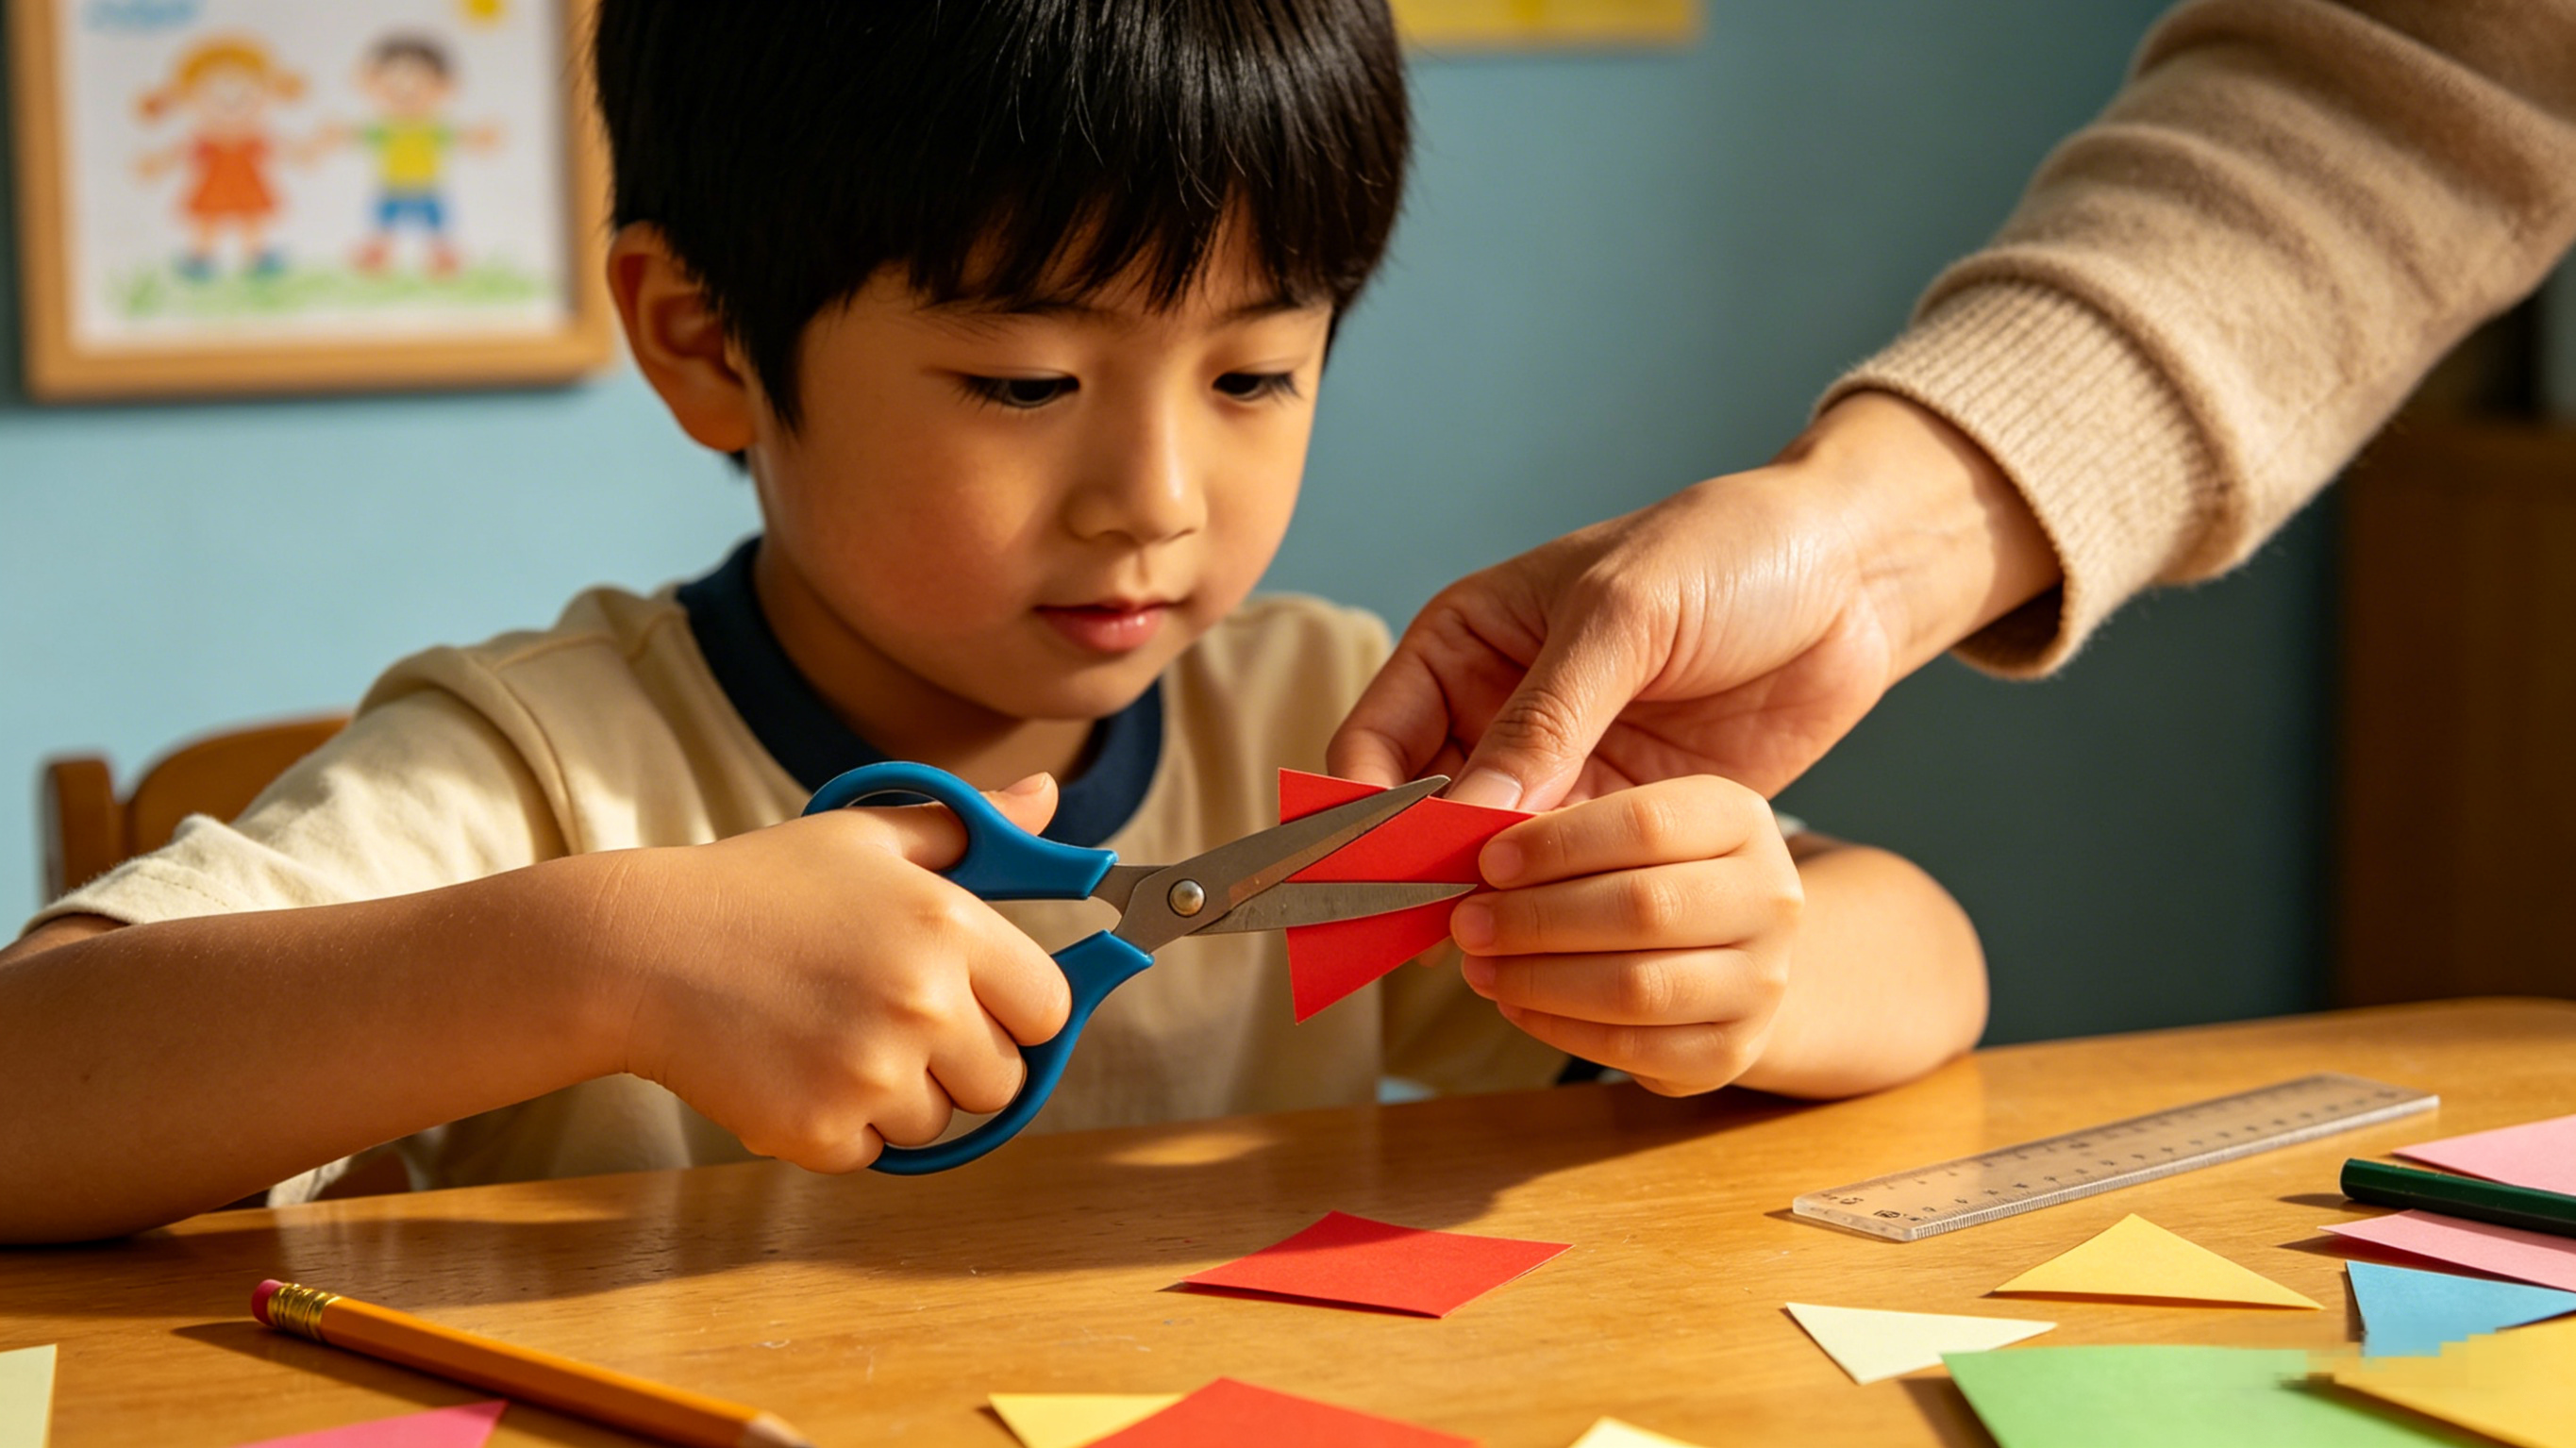
Paper control is just as important as scissor control. A left-handed child usually benefits from holding the paper with the right hand and turning it slightly to the left. This keeps the cutting line visible and allows the scissors to move forward smoothly.
Encourage the child to move the paper, not just the scissors. For curves and circles, the assisting hand should rotate the paper slowly while the cutting hand opens and closes in a steady rhythm. This builds bilateral coordination: one hand cuts while the other hand guides.
- Start with short snips on the edge of paper.
- Move to straight lines on narrow strips.
- Practice gentle curves with thick lines.
- Cut simple shapes such as squares and circles.
- Try craft activities only after the child can control basic lines.
Use Demonstrations That a Left-Handed Child Can Copy
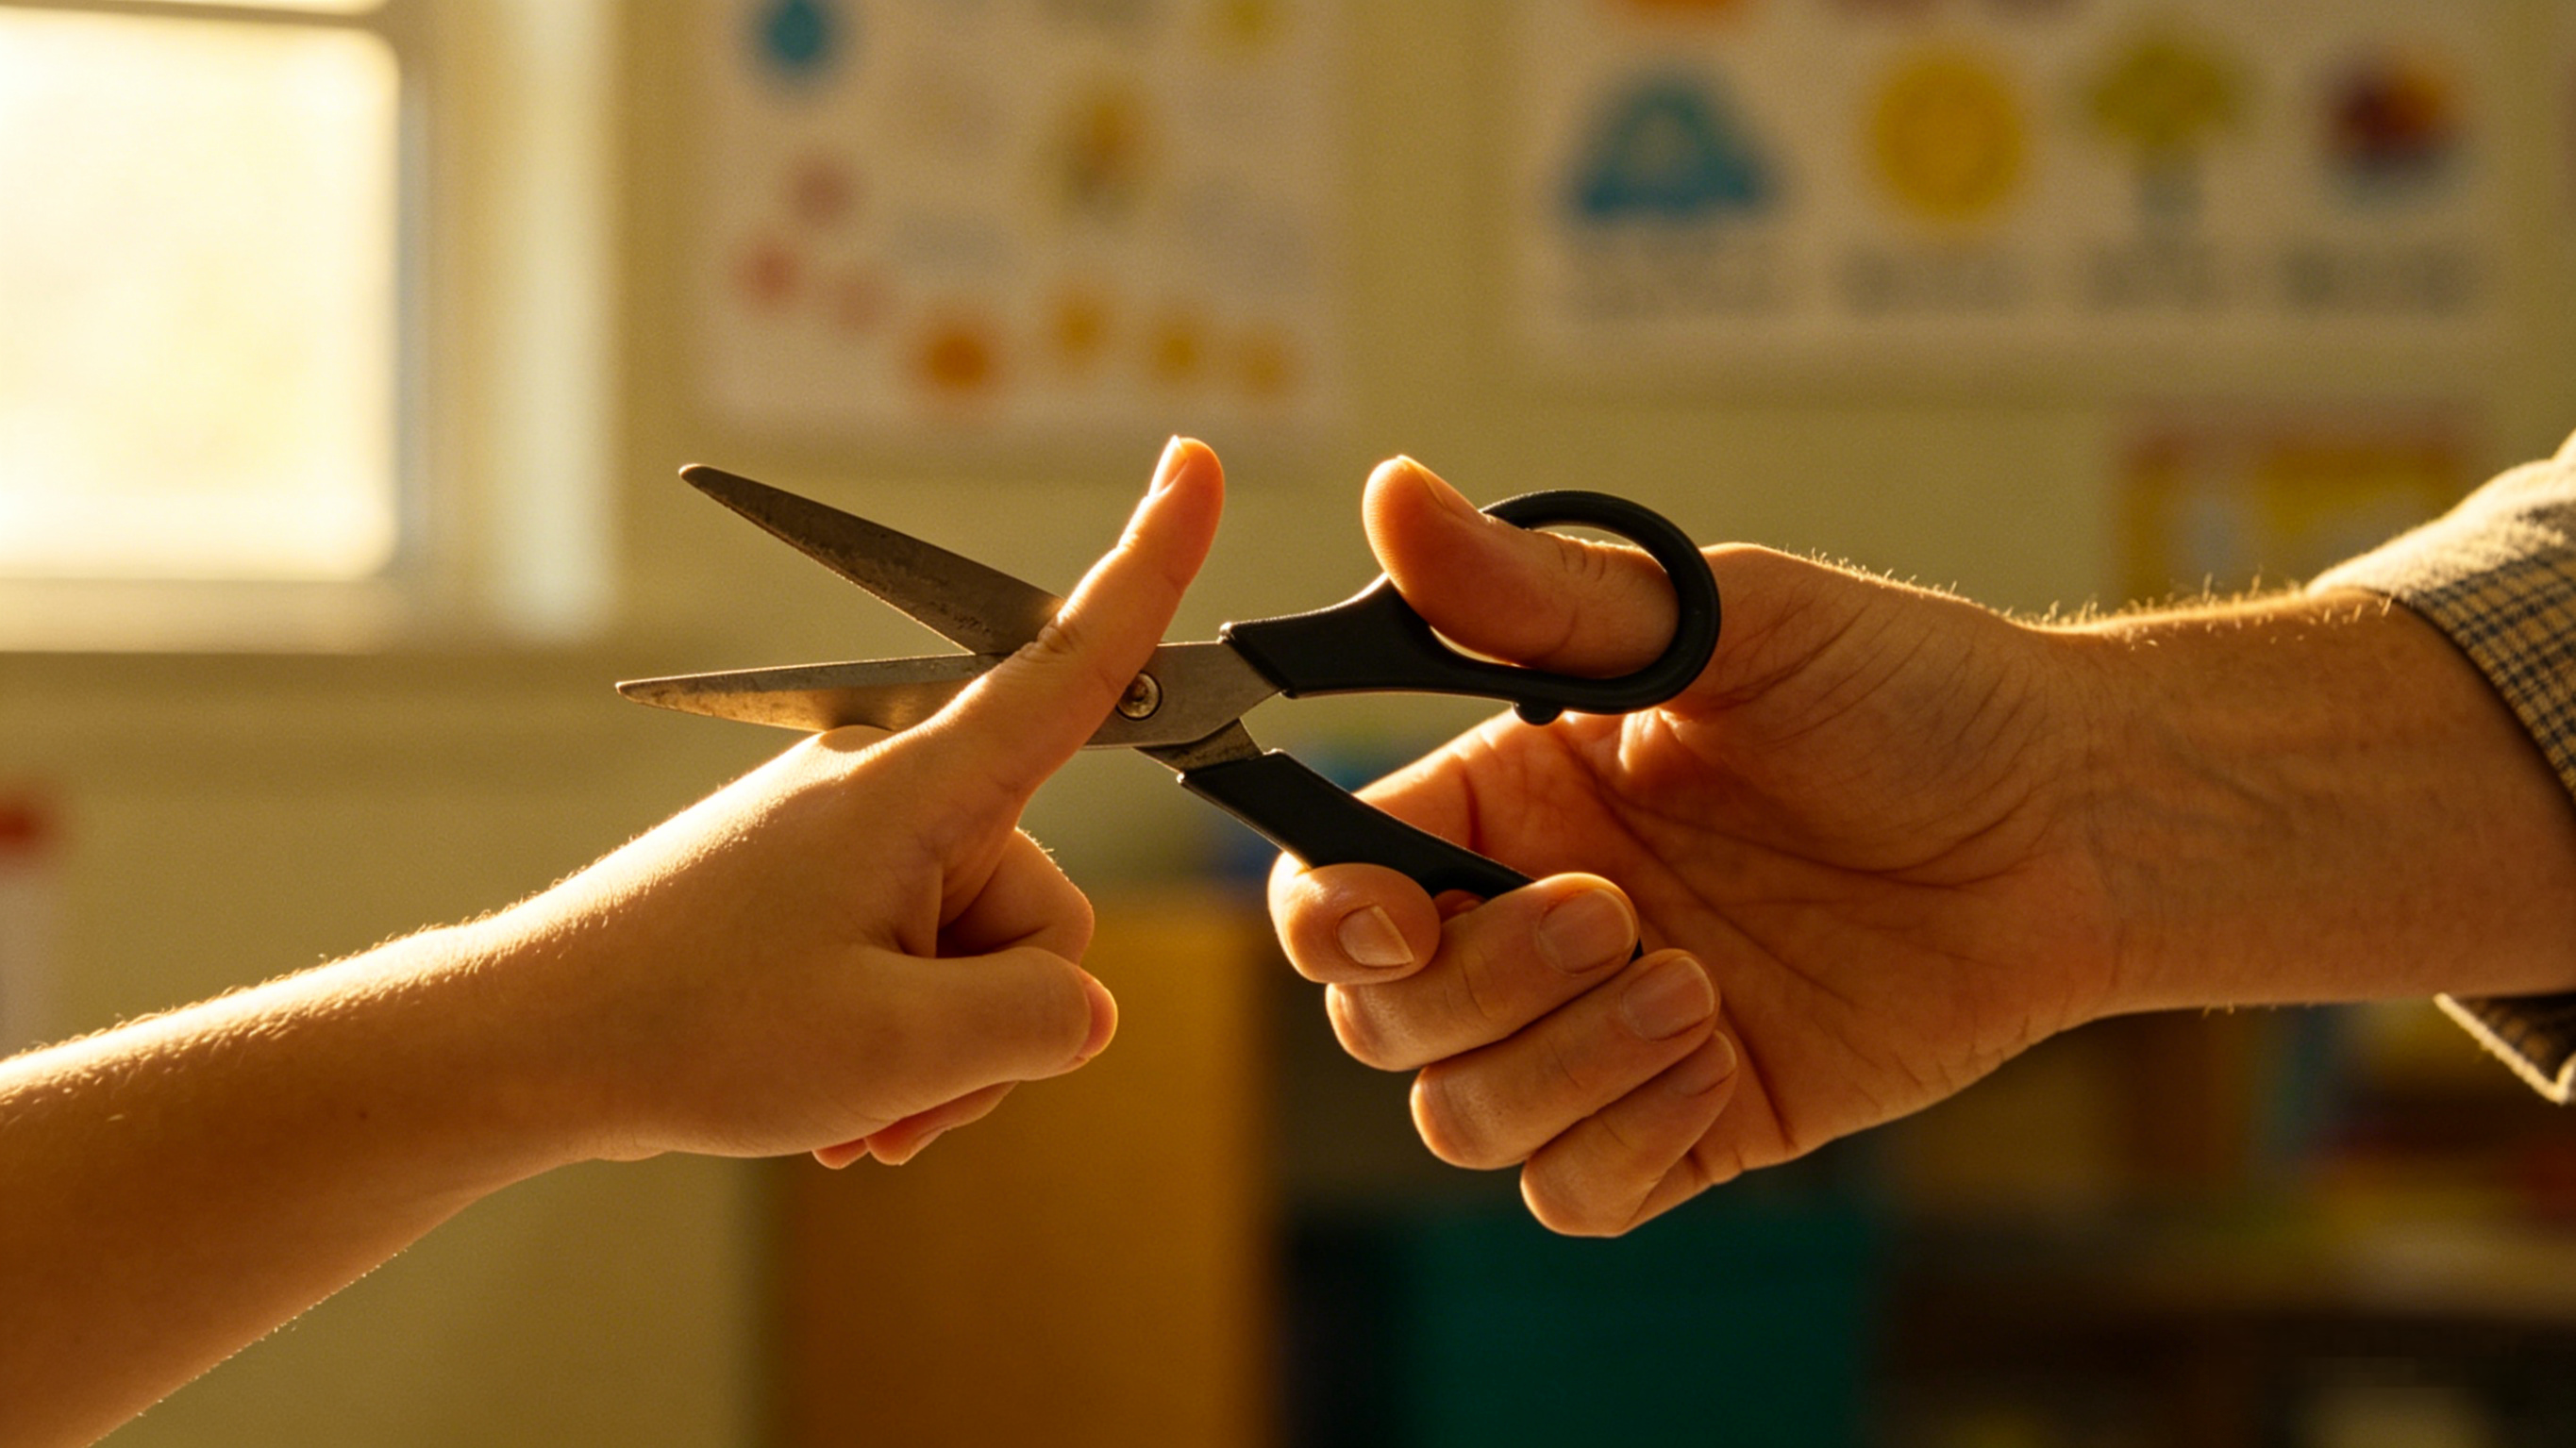
Many children learn by watching. If an adult demonstrates right-handed cutting while sitting beside a left-handed child, the child may copy the wrong hand position. One useful method is to sit opposite the child so your movement appears like a mirror image. Another option is to demonstrate with your left hand slowly, even if you are not naturally left-handed, focusing on grip and paper angle rather than speed.
Teachers can also keep a left-handed demonstration pair of school scissors available in the classroom. This makes it easier to show left-handed learners without asking them to reinterpret right-handed instructions.
Practice Activities That Build Confidence
Practice should feel achievable. Start with activities that create quick success, then gradually increase difficulty. For preschool children, a few minutes of accurate snipping is more valuable than a long session that ends in frustration.
- Fringe cutting: Cut short snips along the edge of a paper strip to make “grass” or “hair.”
- Path cutting: Follow a thick road-style line from one picture to another.
- Shape rescue: Cut around large squares or circles to “rescue” pictures from the page.
- Scrap collage: Cut colored paper into pieces and glue them into a simple design.
Keep the focus on the process: holding the scissors safely, keeping the thumb up, watching the line, and controlling the paper. Perfect edges are not the goal at the beginning.
Common Mistakes to Avoid
Avoid forcing a left-handed child to use right-handed scissors if they are struggling. Also avoid comparing them with right-handed classmates, because the problem may be tool fit rather than effort. Thin tissue paper, oversized scissors, dull cutting tasks, and unclear lines can all make practice unnecessarily difficult.
Adults should also watch for fatigue. If the child’s hand shakes, grip collapses, or posture becomes tense, stop and return later. Five to ten minutes of focused practice is usually enough for young learners.
FAQ
Can a left-handed child use regular scissors?
Some children manage, but many find it harder to see the cutting line or make clean cuts. Left-handed scissors are usually a better starting point for learning.
At what age should children learn to cut?
Many children begin supervised snipping in the preschool years, but readiness varies. Look for interest, basic hand control, and the ability to follow safety instructions.
How often should we practice?
Short sessions several times a week are enough. Stop before the child becomes tired or frustrated.
What should I ask when choosing school scissors?
Ask whether the scissors are designed for left-handed use, what age range they suit, how comfortable the handles are, and whether the tip style is appropriate for your classroom or home setting.
Final Thoughts
Helping a left-handed child learn to cut is not about pushing them to copy right-handed habits. It is about giving them the right tools, a clear view of the line, patient demonstrations, and practice that builds skill step by step. With suitable school scissors and supportive teaching, left-handed children can become confident cutters for classroom projects, art activities, and everyday fine motor development.