

Springtime Blooms: Cutting Paper Flowers for a Classroom Bouquet
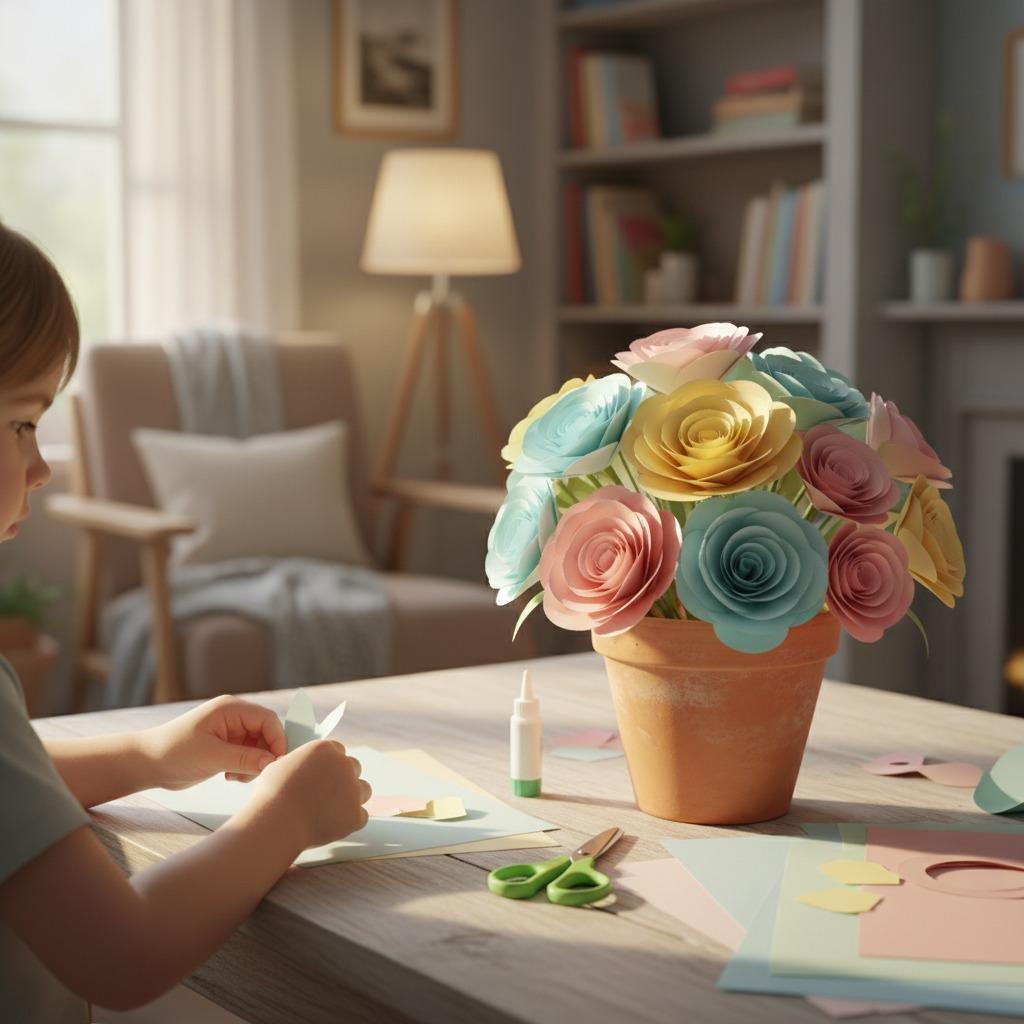
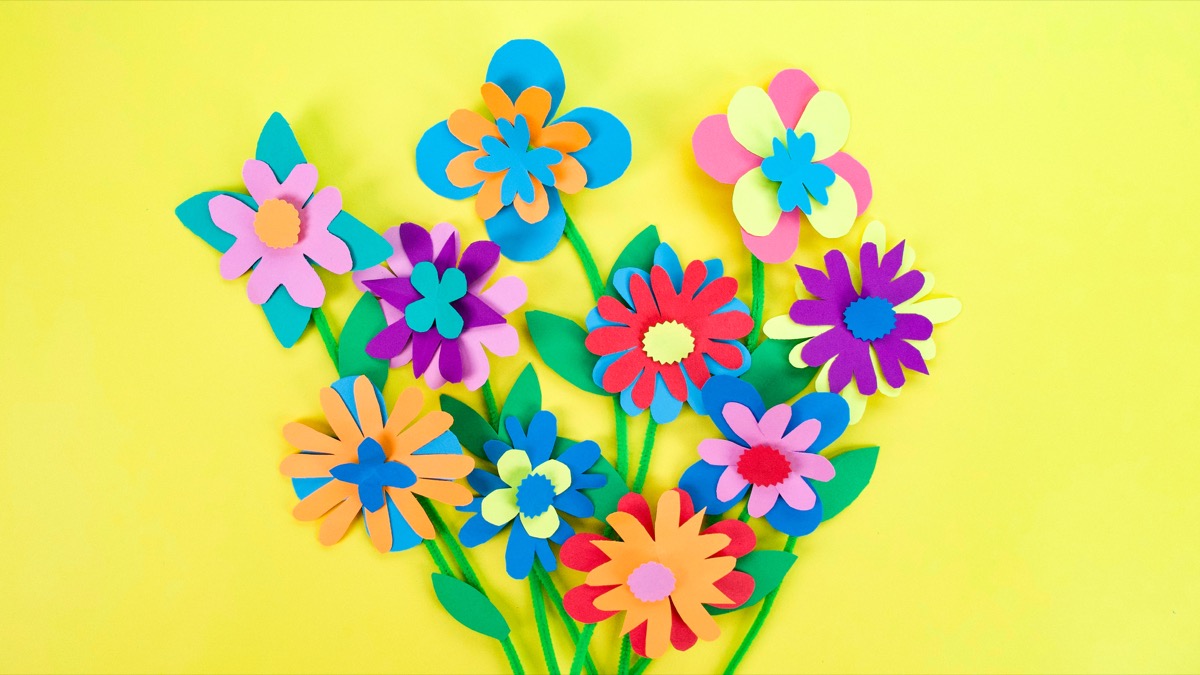
A paper flower bouquet is a simple spring classroom project that combines art, fine motor practice, color recognition, and group participation. Students can cut petals, fold leaves, assemble stems, and contribute one or more flowers to a shared display. The activity works well for elementary classrooms, after-school programs, library craft sessions, and parent-led seasonal events.
This guide focuses on making the project manageable: choosing age-appropriate materials, using school scissors safely, setting up a smooth workflow, and turning individual paper flowers into one classroom bouquet. The finished display can support lessons about plant parts, spring weather, symmetry, patterns, poetry, or community teamwork.
Key Takeaways
- Plan the craft in stations so cutting, gluing, decorating, and drying do not crowd one table.
- Choose paper thickness based on student age: lighter paper is easier to cut, while cardstock holds shape better.
- Use blunt-tip school scissors for younger students and review safety rules before handing out supplies.
- Prepare templates for beginners, but allow older students to design their own petal shapes.
- Save paper scraps for leaves, centers, mosaics, or future collage activities.
Why a Paper Flower Bouquet Works in the Classroom
Spring crafts can be more than decoration. Cutting curved petals, straight stems, and small circles gives students controlled practice with hand strength and coordination. Arranging flowers in a shared bouquet also helps children see how individual work contributes to a group result.
The activity is flexible. A kindergarten group may use large templates and pre-cut stems, while older students can explore layered petals, radial symmetry, measurement, or color families. Teachers can connect the bouquet to science by labeling roots, stems, leaves, petals, and pollen, or to literacy by adding short spring messages to each flower.
Materials and Planning Checklist
Quantities depend on class size and how many flowers each student will make. The table below is a practical planning guide for about 20 to 25 students.
| Item | Suggested Use | Selection Tips |
|---|---|---|
| Colored construction paper | Petals, leaves, and flower centers | Use assorted spring colors; keep green sheets for leaves. |
| Cardstock | Sturdier flowers or templates | Better for display pieces, but harder for young children to cut. |
| School scissors | Cutting petals, circles, and leaves | Look for a comfortable grip and blunt tips for younger students. |
| Glue sticks or white glue | Layering petals and attaching centers | Glue sticks reduce mess; liquid glue may need drying space. |
| Pipe cleaners, straws, or paper strips | Flower stems | Choose stems that fit your display container and student skill level. |
| Pencils and templates | Tracing shapes before cutting | Use large, simple shapes for early grades. |
| Jar, vase, or bulletin board | Final bouquet display | Use a stable container or mount flowers flat for safety. |
Choosing and Using School Scissors Safely
Because this craft relies on cutting, scissors should match the age and ability of the students. For younger children, blunt-tip school scissors are usually easier to manage in a classroom setting. For older students, a slightly longer blade may help with cardstock or layered paper, but supervision is still important.
Before the activity starts, demonstrate how to hold scissors, how to pass them handle-first, and how to cut only the assigned paper. Remind students to keep scissors closed when not cutting. If a student struggles with curved cuts, encourage them to turn the paper instead of twisting the wrist. For product selection, teachers and parents can review options such as school scissors and ask suppliers practical questions: What age range is the product intended for? Are the tips blunt or pointed? Is the handle comfortable for small hands? Is the scissor suitable for paper only, or can it handle light cardstock?
Step-by-Step Paper Flowers Tutorial
- Prepare the templates. Draw simple flowers, circles, and leaves on cardstock. Daisies, tulips, and rounded five-petal shapes are easy starting points.
- Trace the shapes. Students trace petals on colored paper and leaves on green paper. Encourage them to use the paper efficiently and leave space between shapes.
- Cut slowly and carefully. Students cut around the traced lines with school scissors. Large curves are easier than tiny details, especially for beginners.
- Layer the petals. Glue two or three petal shapes together, rotating each layer slightly to create a fuller flower.
- Add the center. Cut or punch a small circle in a contrasting color and glue it to the middle of the flower.
- Attach the stem. Tape or glue a pipe cleaner, straw, or folded paper strip to the back. Add one or two leaves if time allows.
- Let the flowers dry. Place them on a labeled drying area before arranging the bouquet.
Classroom Management Tips for a Smoother Craft
A successful craft period often depends on setup. Put supplies in small baskets or trays so students do not need to leave their seats repeatedly. If the class is young, create stations: tracing, cutting, gluing, and decorating. This limits crowding and makes it easier to supervise scissor use.
- Pre-cut some circles and leaves for students who need extra support.
- Keep a scrap bin at each table for usable paper pieces.
- Use table captains to collect glue sticks and scissors at the end.
- Set a timer for each stage so students know when to finish cutting and begin assembling.
- Have extra templates ready for early finishers who want to make another flower.
If the project is part of a larger lesson, ask students to label the parts of their flower or write one sentence about spring on a small paper tag. This turns the bouquet into both an art display and a learning artifact.
Display Ideas for the Finished Bouquet
The simplest option is to place all flowers in one large jar or vase on a classroom shelf. If the stems are uneven, add crumpled paper inside the container to hold them in place. For a hallway display, tape flowers to a bulletin board and arrange them into a garden scene with a title such as “Our Spring Bouquet.”
You can also create smaller team bouquets. Each table group contributes flowers in a specific color family, then compares the results. This encourages discussion about warm colors, cool colors, patterns, and variety. For a take-home version, students can make one extra flower and attach a note for a parent or caregiver.
Cleanup, Storage, and Reuse
Plan cleanup before the first cut is made. Paper crafts create many small scraps, and glue can spread quickly. Ask students to separate large reusable scraps from tiny pieces. Store templates in an envelope labeled by season so the activity can be repeated next year. If scissors become sticky from glue or tape, clean them according to the product’s care instructions and let them dry before storage.
Finished paper flowers can last for weeks if they are kept away from water and heavy handling. Flat flowers are easiest to store in folders, while stemmed flowers should be placed upright in a box or container.
Practical FAQ
How long does this classroom bouquet activity take?
Most classes need 45 to 60 minutes for tracing, cutting, gluing, and arranging. Younger students may need a second session if they decorate heavily.
What paper is easiest for children to cut?
Regular construction paper is usually easier than thick cardstock. Use cardstock for templates or for older students who can manage firmer paper.
Can this craft be done without pipe cleaners?
Yes. Use paper strips, drinking straws, craft sticks, or mount the flowers flat on a bulletin board instead of making stems.
How can I support students who struggle with scissors?
Offer larger templates, fewer curves, and partially pre-cut shapes. Pair cutting practice with patience, and allow those students to focus on gluing, arranging, or decorating.
What should buyers ask when selecting school scissors?
Ask about intended age range, tip style, grip comfort, left- or right-hand suitability, cleaning guidance, and whether the scissors are designed for paper, cardstock, or only light classroom materials.