

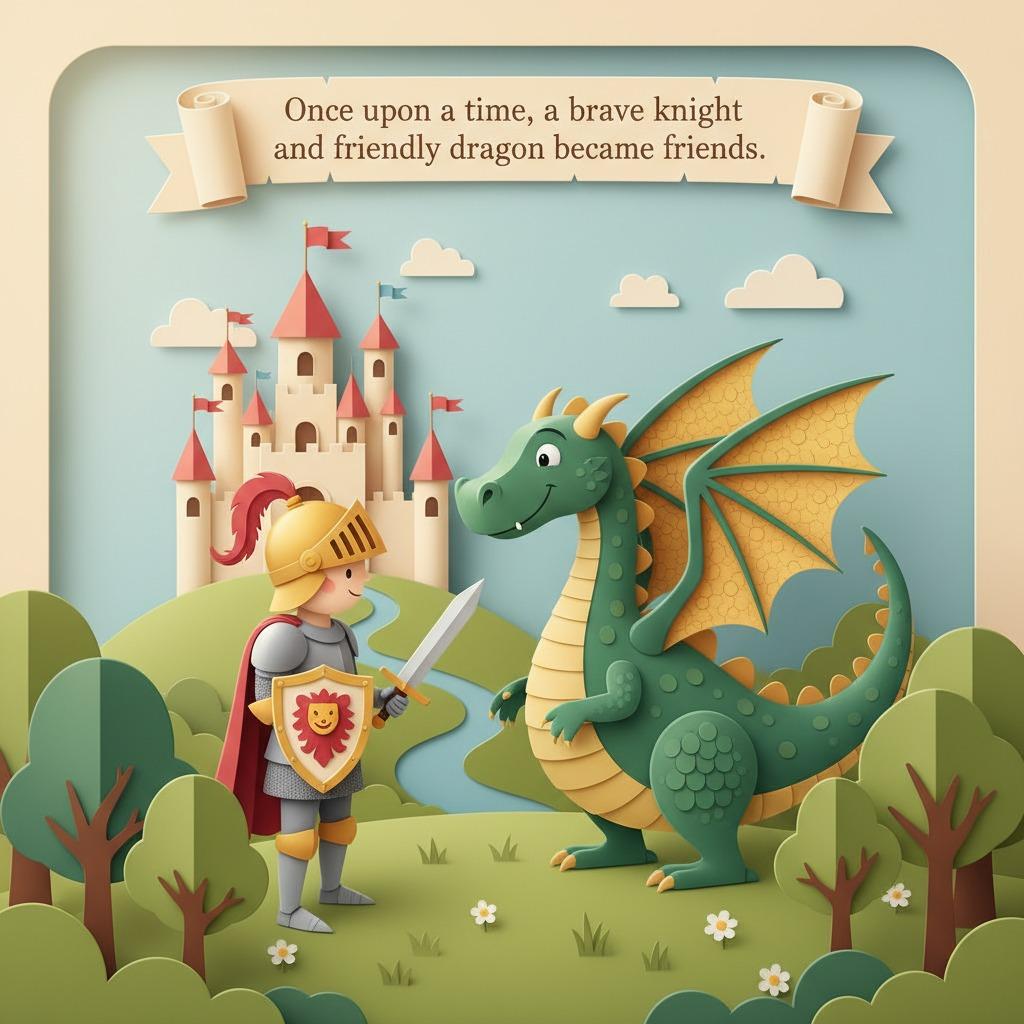
Storytelling Through Paper Silhouettes: A Creative Exercise
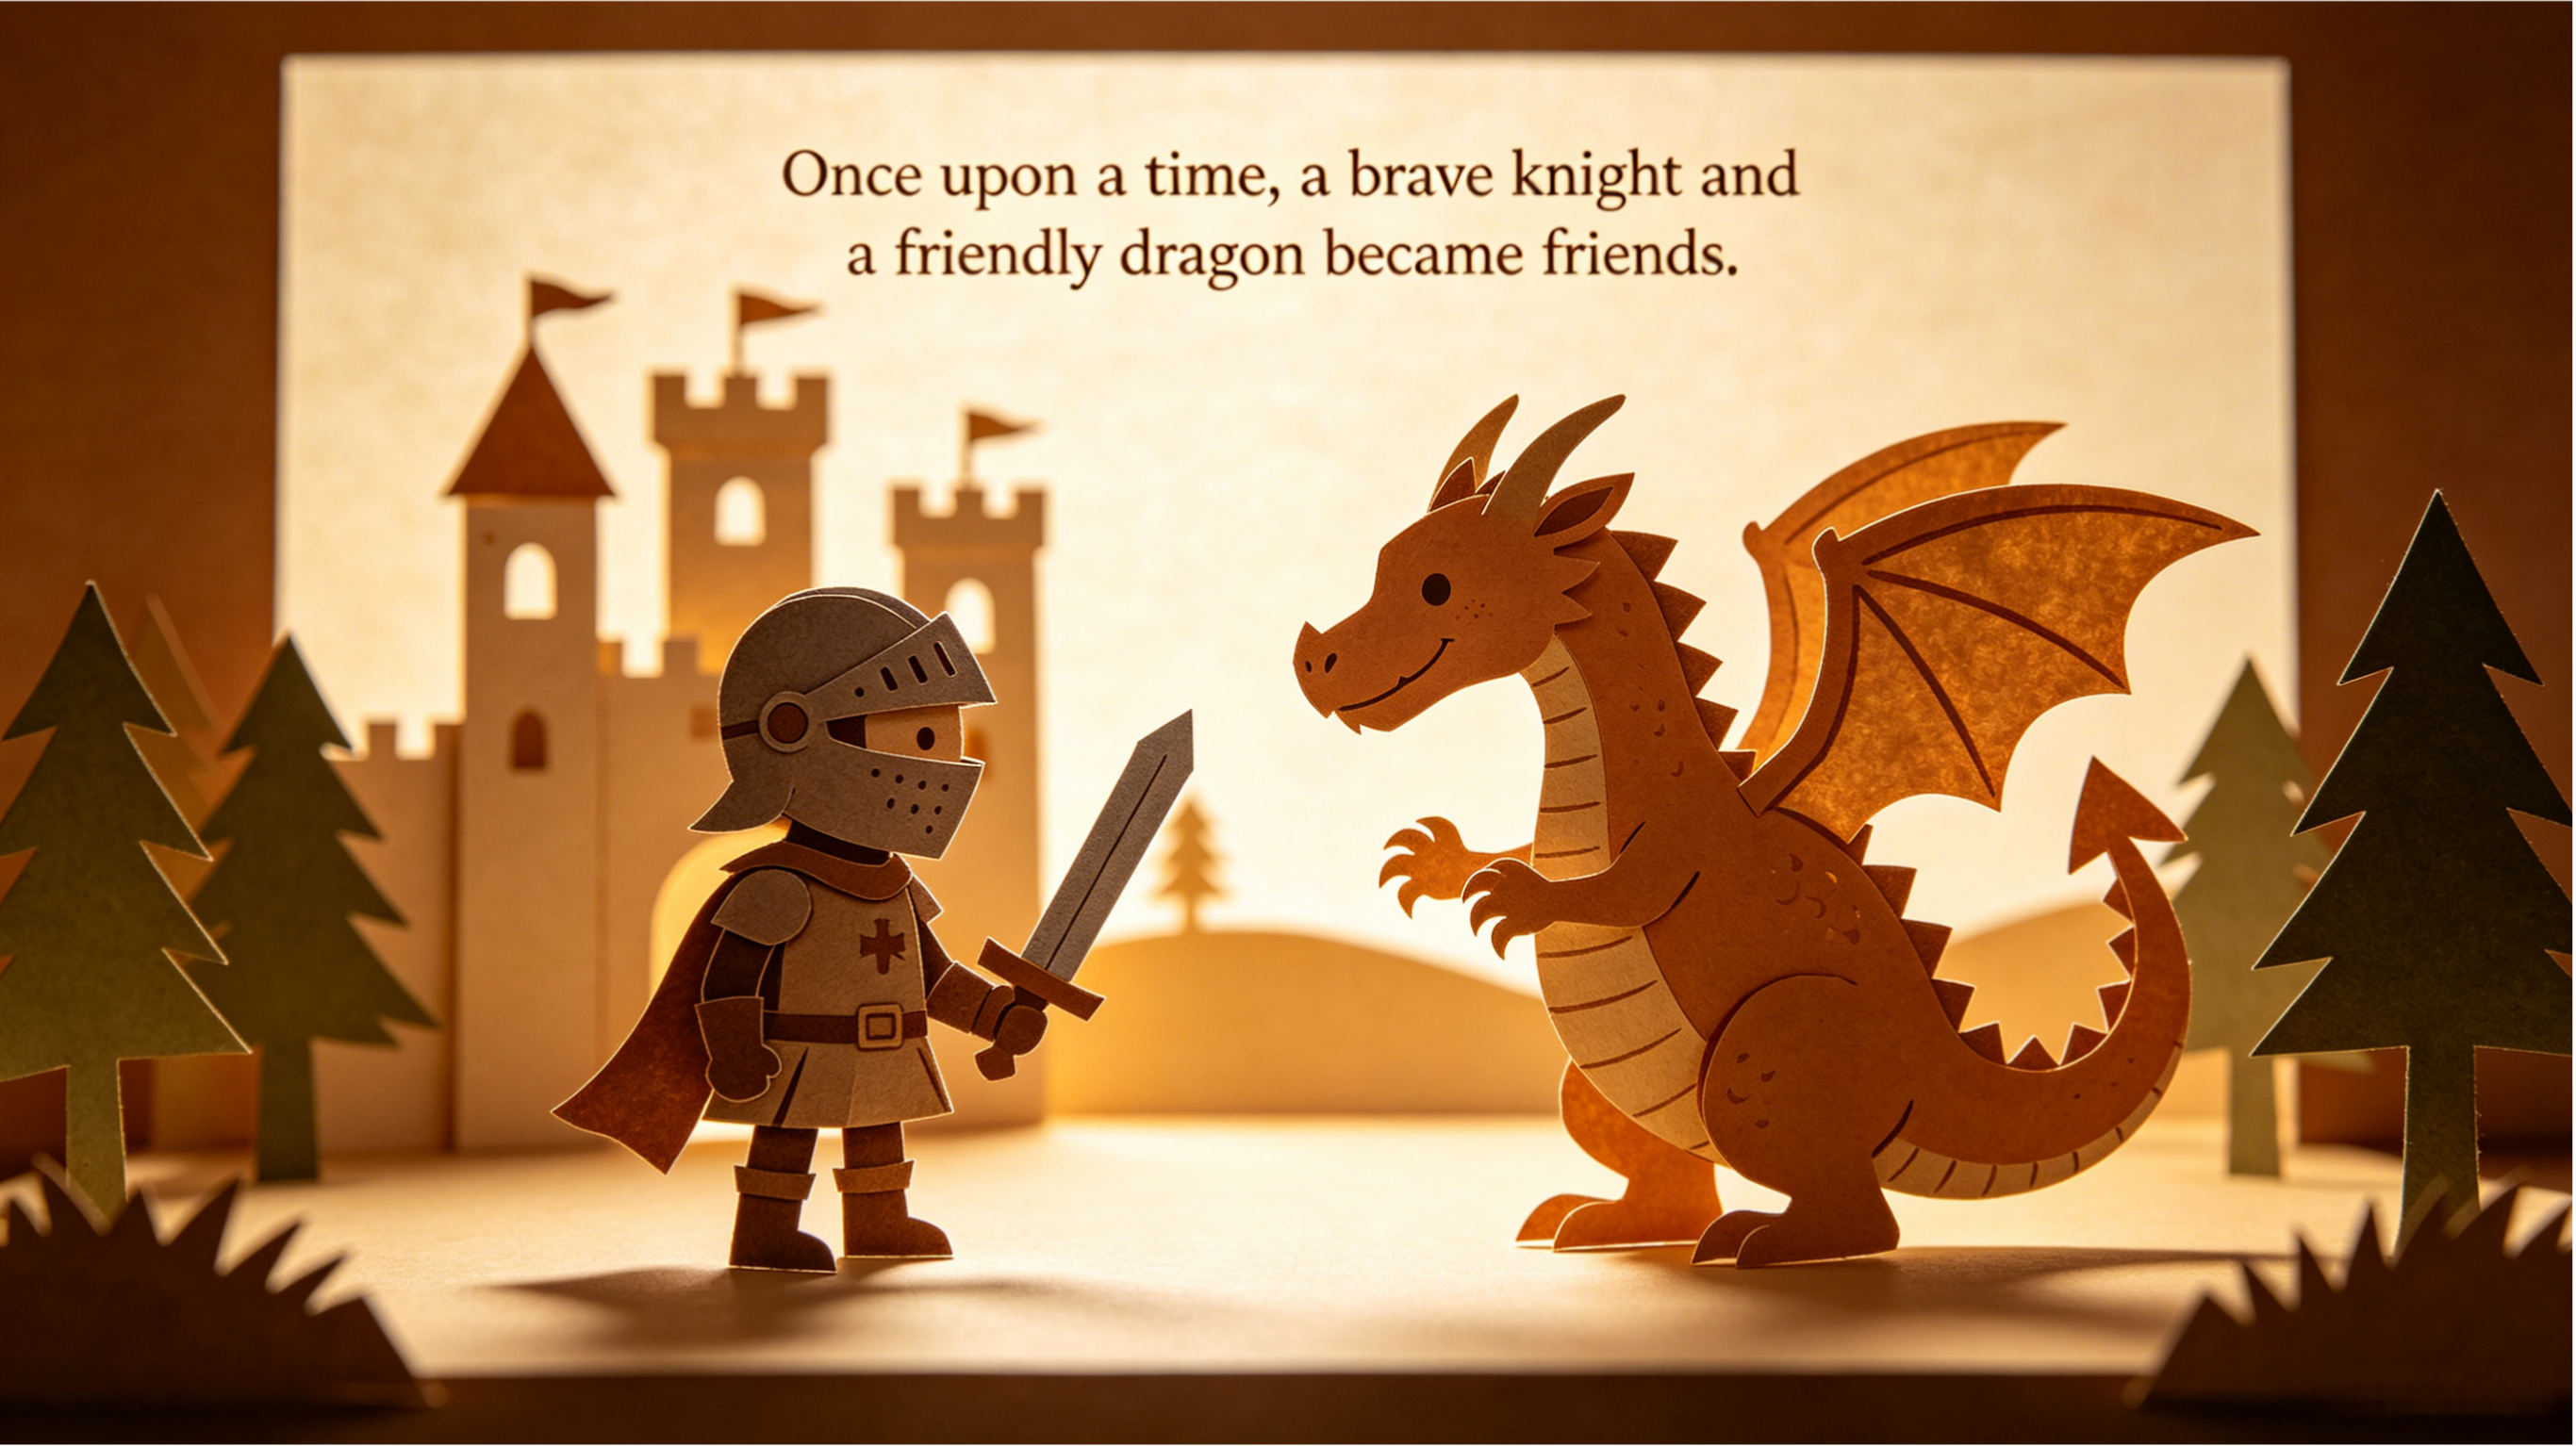
Paper silhouettes are a low-cost, high-imagination way to help children and adults turn simple shapes into stories. With paper, school scissors, a pencil, and a light source, a flat cutout can become a dragon, a lost astronaut, a brave child, or a talking tree. The activity works well for classrooms, after-school programs, family nights, library workshops, and independent creative play because it combines drawing, cutting, planning, speaking, and performance.
Unlike detailed drawing projects, silhouette storytelling depends on outline, motion, and voice. That makes it approachable for mixed skill levels. A child who does not feel confident drawing faces can still create a strong character by cutting a distinctive hat, tail, cape, or curved body shape. The result is a practical craft exercise that supports fine motor practice and narrative thinking without requiring complicated materials.
Key Takeaways
- Strong silhouettes rely on clear outlines, expressive poses, and simple shapes.
- School scissors are useful for broad cuts and controlled paper-craft practice when matched to the user and supervised as needed.
- A short story with three to five characters is easier to perform than a complicated plot.
- Light, distance, and movement can make the same paper figure feel small, large, fast, slow, calm, or dramatic.
Why Silhouettes Build Better Stories
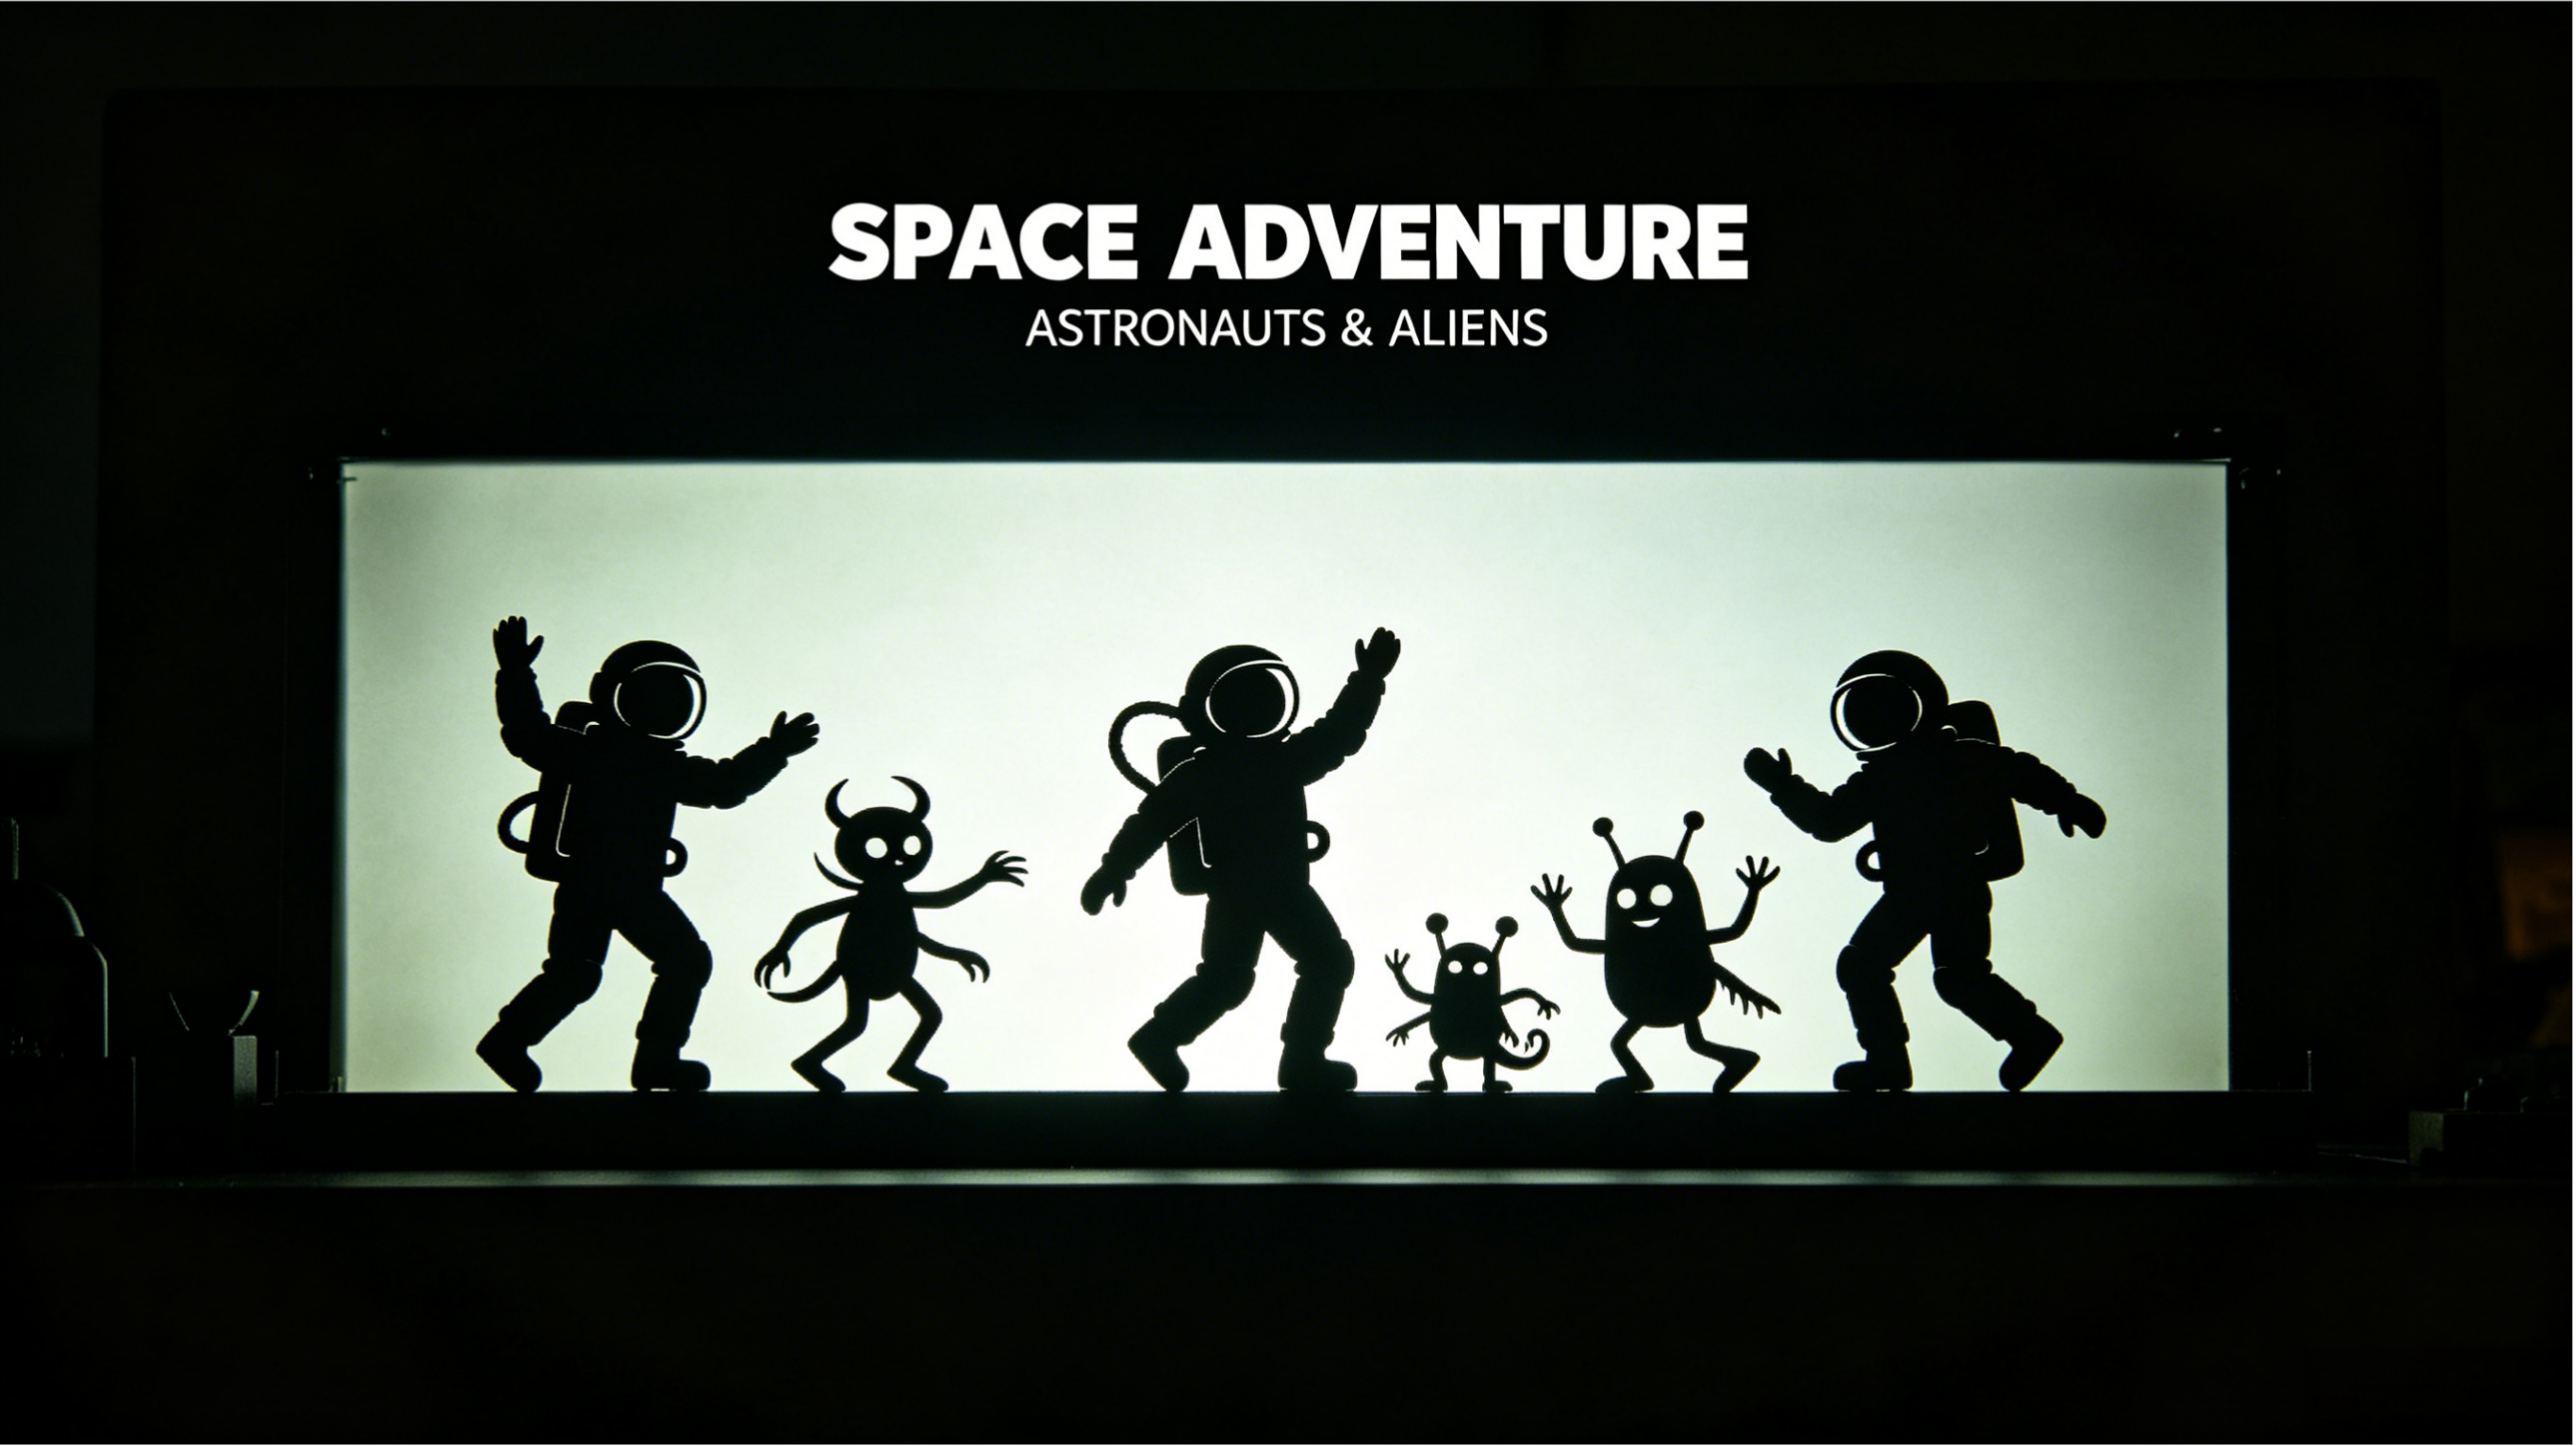
Silhouettes remove small details and ask the storyteller to focus on what the audience can understand quickly. A hunched back may suggest fear. An outstretched arm may show surprise, welcome, or warning. A jagged crown can identify a king or queen before anyone speaks. This visual simplicity encourages children to think about character, action, and sequence.
The format also encourages a clear beginning, middle, and end. Because performers must move the cutouts in real time, they naturally ask useful story questions: Who enters first? What changes? Where does the problem happen? How does the character solve it? These questions help transform a craft session into a literacy activity.
Materials and Setup Checklist
Keep the setup simple. For younger groups, prepare a few sample shapes in advance so participants understand how outlines look on a screen or wall. For older children, invite them to design everything from scratch.
| Item | Checklist | Practical Use |
|---|---|---|
| Construction paper | Black or colored sheets | Black gives classic shadow contrast; colors work well for non-shadow display. |
| School scissors | One pair per participant if possible | Used for cutting large outlines and simple details; choose scissors suitable for the user. |
| Pencil and eraser | One set per person or table | Useful for sketching outlines before cutting. |
| Tape or glue | Shared supply | Helps attach handles, repair cuts, or combine paper parts. |
| White sheet, wall, or paper screen | One performance area | Creates a clear background for projected shadows. |
| Lamp or flashlight | One stable light source | Projects the silhouettes; an adult should manage cords and heat where relevant. |
| Craft sticks or skewers | Optional handles | Make figures easier to move during performance. |
Step-by-Step: Create a Silhouette Story
- Choose a small story idea. Start with a simple problem, such as a missing key, a storm on the way home, or a creature who wants a friend. Limit the cast to three to five characters.
- Sketch the characters as outlines. Draw lightly on the paper. Focus on profile shapes, large gestures, and recognizable features. A wizard may need only a pointed hat and staff; a bird may need a beak and wings.
- Cut from large to small. Use school scissors to cut the outer shape first. Turn the paper instead of twisting the hand into an awkward position. Save tiny details for last, and simplify anything that becomes too fragile.
- Add handles if needed. Tape a craft stick to the back of each figure. Place the stick where it will not block important parts of the outline.
- Test the shadow. Hold the cutout between the light and the screen. Move it closer to the light to make it larger, or closer to the screen to make it sharper.
- Rehearse the sequence. Practice entrances, exits, pauses, and dialogue. A short rehearsal often improves the final performance more than adding extra decorations.
Story Prompts for Quick Planning
If a blank page slows the group down, use a prompt table. Ask participants to pick one row or mix columns to create a new plot.
| Theme | Main Characters | Problem | Possible Ending |
|---|---|---|---|
| Forest journey | Fox, child, old tree | The path disappears at sunset | The tree reveals a hidden bridge |
| Ocean mystery | Fish, diver, crab | A shiny map floats away | The crab finds it under a shell |
| Space visit | Astronaut, robot, moon creature | The rocket will not start | Everyone builds a new signal light |
| Everyday comedy | Backpack, shoes, alarm clock | Everyone is late for school | They learn to work as a team |
Cutting and Design Tips for Clearer Silhouettes
The best silhouettes are not necessarily the most detailed. In fact, too many small cuts can make a figure weak or confusing. A strong outline reads clearly from across the room. Encourage participants to exaggerate one or two identifying features, such as long ears, a giant umbrella, a curved tail, or a zigzag crown.
- Use thick paper if figures need to be reused, but avoid paper that is too difficult for the user to cut.
- Keep arms, legs, and thin objects wide enough so they do not tear during performance.
- Cut slowly around corners, rotating the paper as the scissors move.
- For group activities, create a scrap bowl for small pieces and keep the floor clear.
- Label the back of each figure if several stories are being made at once.
Classroom and Family Activity Variations
For younger children, provide pre-drawn outlines and focus on safe cutting practice, character naming, and oral storytelling. For older students, connect the activity to reading comprehension by asking them to adapt a scene from a book. They can identify the setting, conflict, and character motivation before designing the silhouettes.
Families can turn the project into a short performance night. One person narrates, another moves the figures, and another manages simple sound effects such as tapping for footsteps or rustling paper for wind. If recording the performance, keep the camera steady and place the light so the shadows remain visible.
Practical FAQ
What age is best for paper silhouette storytelling?
The activity can be adapted for many ages. Younger children may need pre-drawn shapes and close supervision, while older children can plan original plots and cut more detailed figures.
Do I need special paper?
No. Construction paper is a common choice because it is easy to draw on and cut. Black paper creates strong shadow contrast, but colored paper is fine for table displays or non-shadow play.
How many characters should a beginner make?
Three characters are enough for a complete story: a main character, a helper, and a problem character or object. Keeping the cast small makes rehearsal easier.
How can I make the shadows look sharper?
Use a clear light source and move the cutout closer to the screen. Test the distance before performing, because the best position depends on the lamp, screen, and room lighting.
Can this activity support writing lessons?
Yes. Ask participants to write a short script, list the beginning-middle-end sequence, or describe how each character changes. The performance gives a clear purpose for revising the story.
Paper silhouette storytelling proves that simple materials can support meaningful creative practice. With thoughtful setup, age-appropriate school scissors, and a clear story plan, participants can turn paper shapes into memorable characters and confident performances.